A long, long time ago, I saw what looked like a window with chalkboard on it. It was in Pottery Barn a few Christmases ago.
I am appreciative to the creative folks at Pottery Barn because their Christmas chalkboard project inspired me to go out and hunt an old window. I found one in Church Hill, Tennessee for $5 or $7 — I really can’t remember.
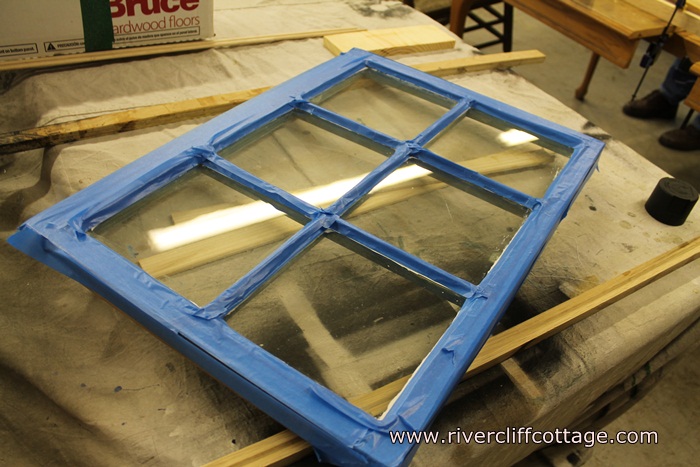
The first time out, it looked like this:
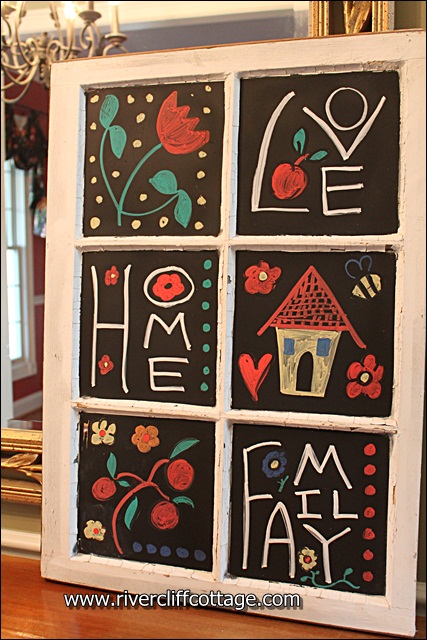
It began to evolve…it later looked like this on a day when I was channeling Mary Engerbreit.
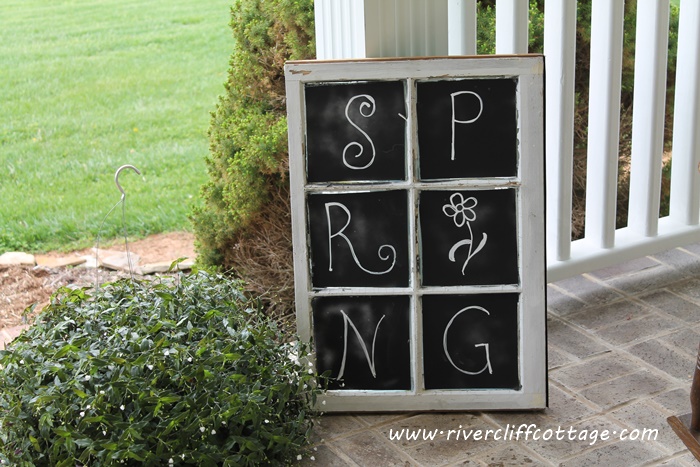
Spring rolled around…
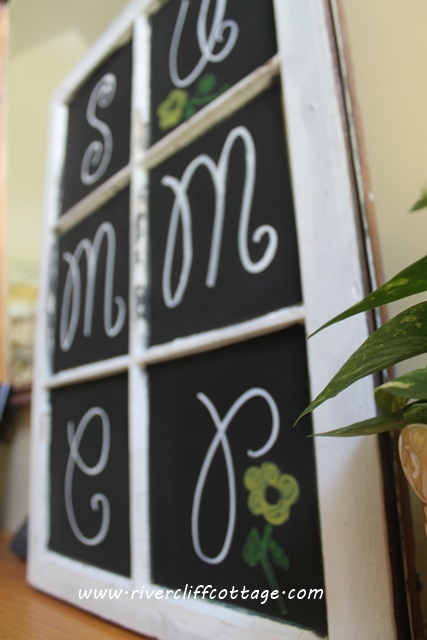
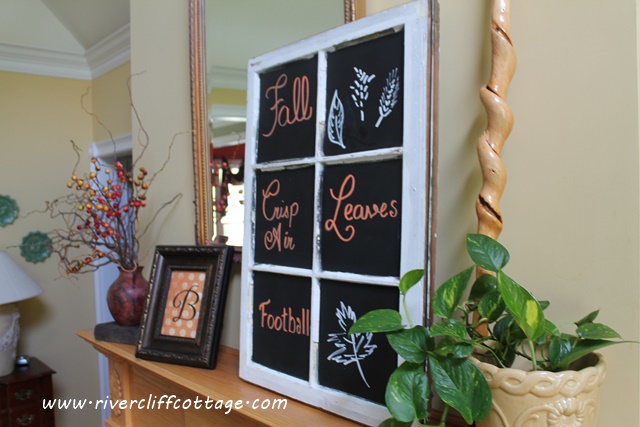
It got hot….I made the discovery that the seasons could all be spelled with six letters, and guess what? I had six panes. There was “winter, spring, summer and autumn.”
Apparently, though, I changed my mind, because autumn no showed. I must have been having a bad spelling day. I went for simpler words like “fall.”
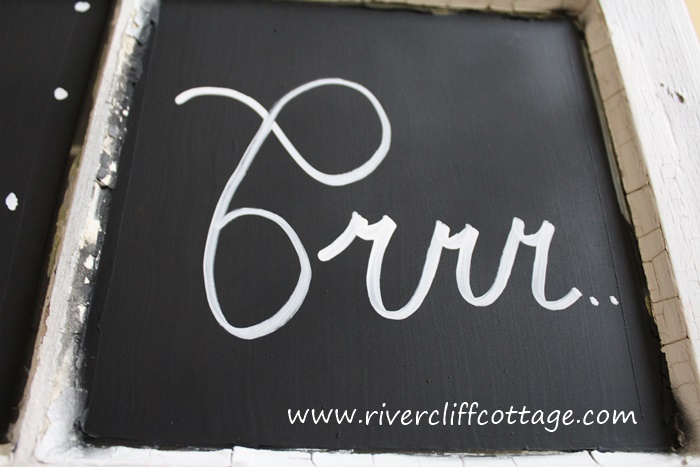
And today I heard that an “Artic Blast” was headed our way. Brr….. or it that Grr?
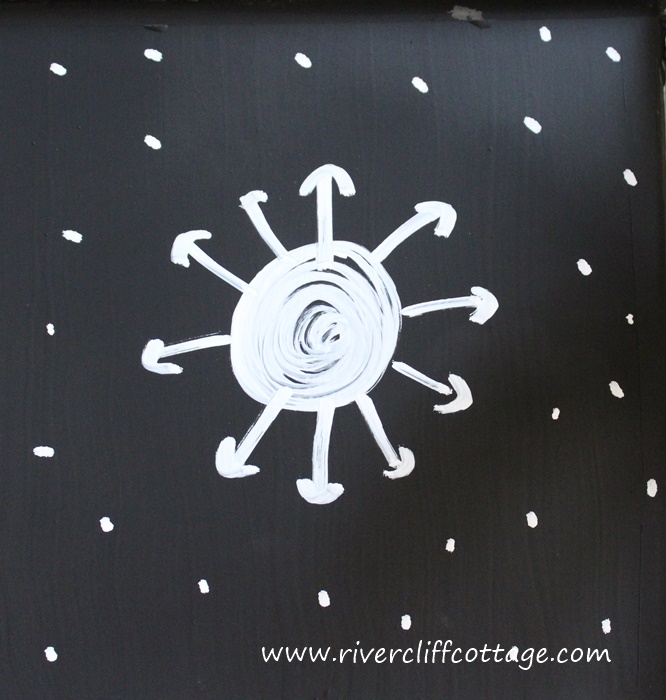
And, there a possibility of snow in the coming weeks!I hope! (Just so long as it is one of those “all employees must stay home..stay in your beds…don’t get out!” kinda snows after midnight on Thursday!)
Millions of unique, one of a kind snowflakes….(higher art this isn’t).
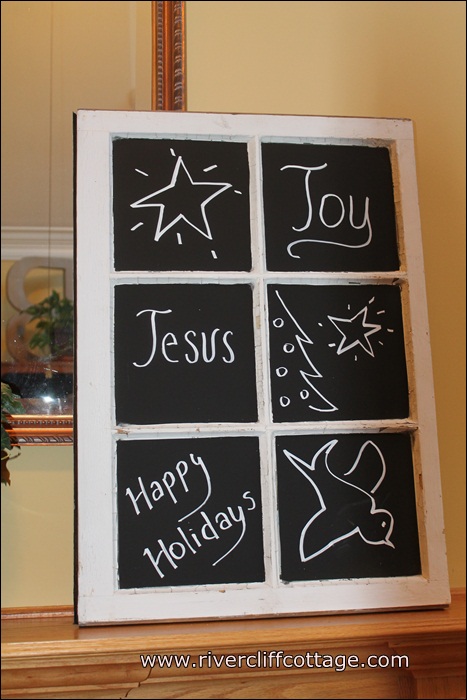
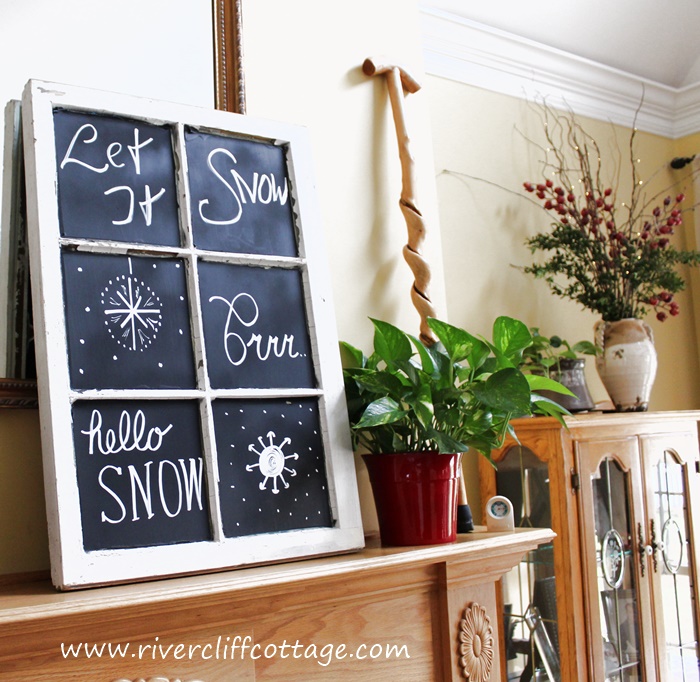
And today… there’s my winter chalkboard window to brighten an otherwise dreary day when the Christmas decorations are coming down and there’s a bareness to the room.
It’s so easy. This project requires only four things, and you can change it seasonally or whenever you want to.
1) Your window which may be purchased at flea markets or antique stores. $5-$10 is the going rate.
2) Some tape to tape around the edges.
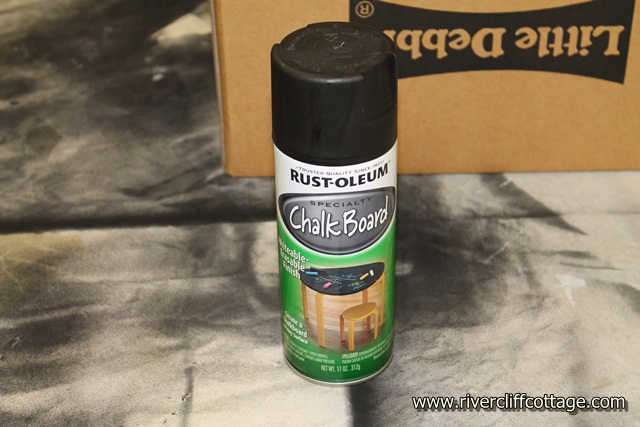
3. Chalkboard spray (or the brush on).
4. Chalk. I prefer Chalk Ink. It doesn’t run like the cheaper kinds.
5. Your imagination which, of course, is priceless.
If you’ve have not yet tried home canning, you are missing out. It’s both rewarding and satisfying to preserve food. I think many of us have an instinct to gather, prepare and store for winter.
Yep–I do wanna jam with you! I made Strawberry-Lavender Jam over the weekend. The lavender added an extra dimension to the taste, and it was very easy to do. I followed the recipe on Ball Real Fruit Pectin (liquid) with the added ingredient of lavender. You need canning supplies and a basic knowledge of home canning to be successful with this recipe. The Ball Blue Book is the very best place to start. You can get all your home canning knowledge right there, and this would be a good first project.
Ingredients:
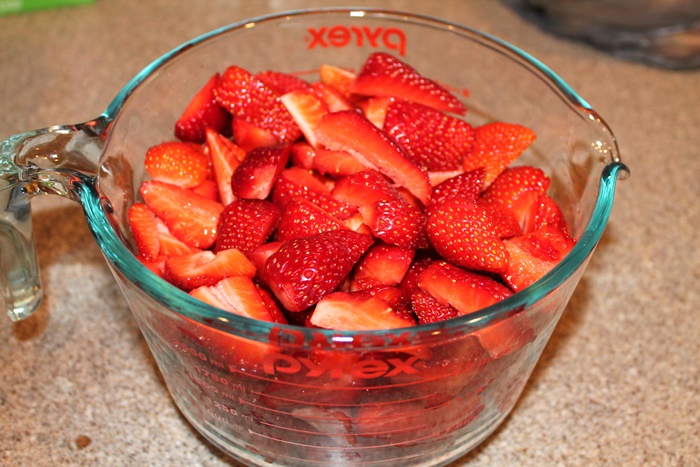
3 and 3/4 cups of crushed strawberries. I crushed them with a potato masher.
1/4 lemon juice
7 cups sugar
1 Tablespoon of culinary grade lavender
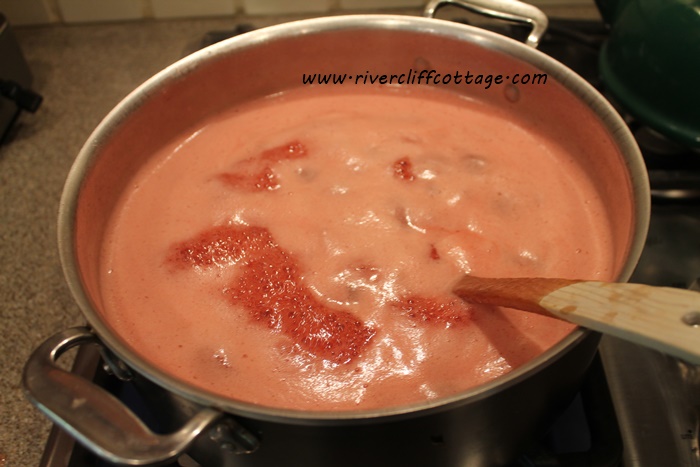
Prepare your waterbath canner, jars and lids. Prepare and measure the above ingredients. Combine crushed strawberries, lemon juice and sugar in an 8 quart saucepan. The depth of saucepan is necessary to keep the mixture from splattering and making a mess or making nasty red polka dots on your stirring arm. Ouch. I used the wrong size in the picture below, but on my next batch, I had corrected this mistake. Aren’t these pretty?
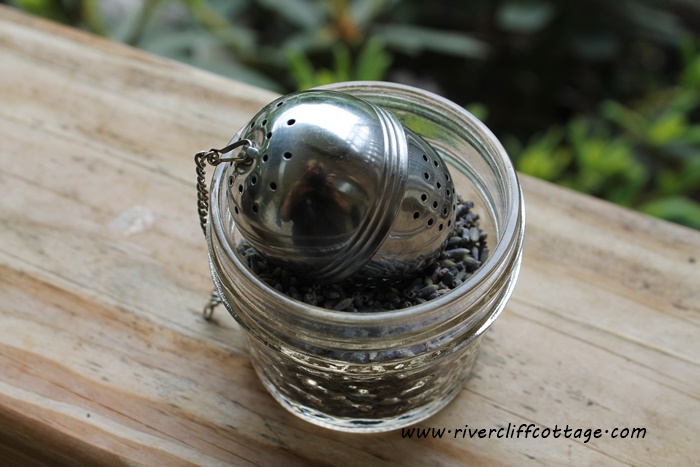
After you’ve got the crushed strawberries, lemon juice and sugar mixed, place the lavender in a tea infuser and drop it into your strawberry mix. If you don’t know what a tea infuser is, I’ve got one pictured below. I’ve been calling it a metal acorn all these years.
Bring your strawberry mixture with the lavender in the tea infuser to a rolling boil that cannot be stirred down over high heat. Stir frequently (like all the time).
Add the Ball RealFruit Liquid Pectin. Return to boil for one minute, stirring constantly. Remove from heat and skim foam, if necessary. (You may also put 1/2 teaspoon of butter or margarine to reduce foaming.) I recommend using a wooden spoon…I can’t prove this but it is so hot that I’m fearful a plastic spoon would melt.
Remove from heat, remove the tea infuser, and ladle hot jam into hot jars leaving 1/4 inch headspace. Wipe rims. Center lids on jars. Apply bands and adjust to fingertip tight.
Place filled jars in canner covered by 1 to 2 inches of water. Place lid on canner, and bring water to a gentle boil. Process ten minutes (some may have to adjust for altitude). Following ten minutes, turn heat off and let stand for five minutes.
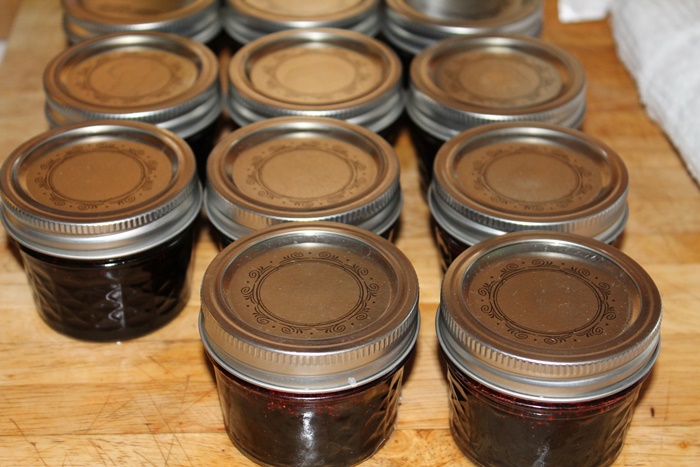
Remove jars and cool. Check lids for seals after 24 hours. Mine sealed within five minutes. Each mix made about 14 of these 4 oz. jars of Strawberry Lavender Jam.
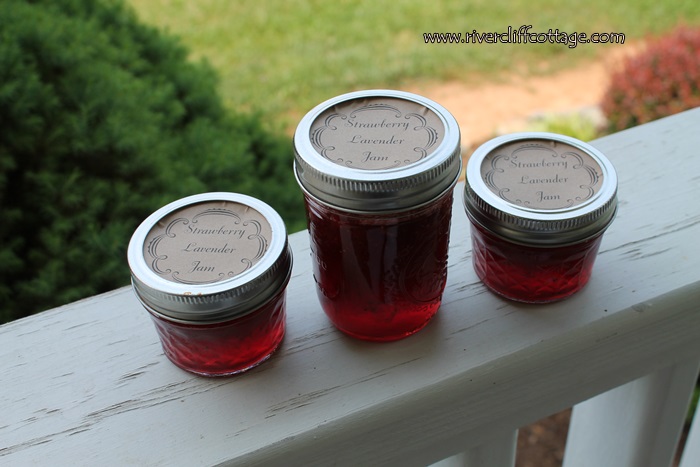
Once I observed my jams had sealed and set properly, I began thinking about what I wanted to do with them. Perhaps I should have thought of this first? There’s no way Mike and I will eat 40+ jars of Strawberry Lavender Jam….so I’ll use them as gifts, so I decided to make the jars a little fancier..
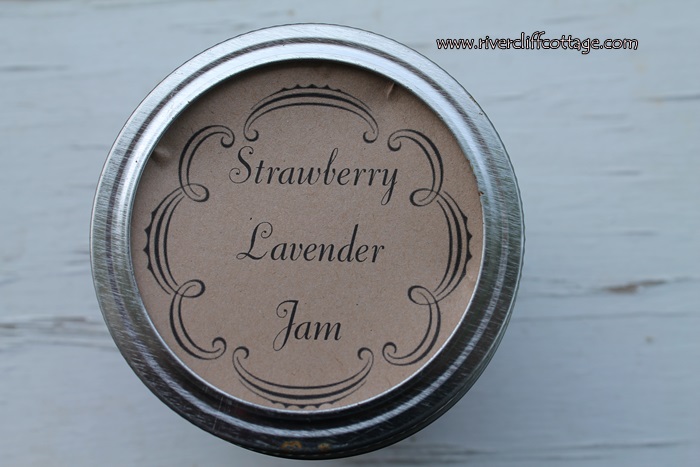
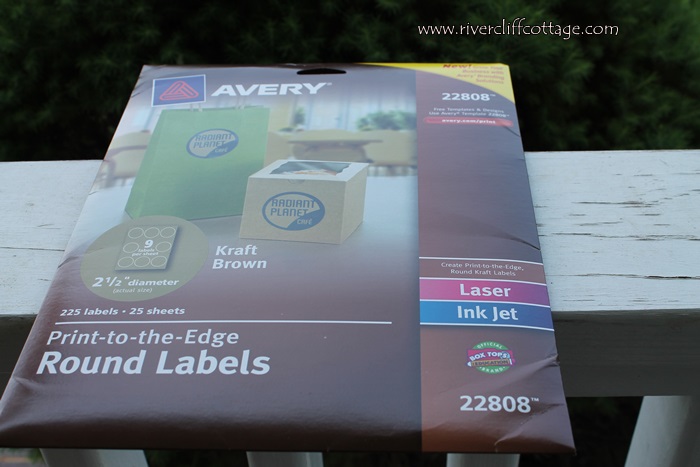
After a few minutes searching Pinterest for ideas, I went to the Avery.com website to see what was new, and I found round labels to fit my lids using Kraft paper. I ordered them from Amazon and this morning they arrived. While I’m supposed to be painting the bedroom, I’ve interrupted myself to make labels. Here’s the labels.
I followed the online design on Avery.com, selected Martha Stewart as my style (She is not my style but that was the name of the design –I think she’s an odd bird but in this case, I liked the embellishment) and within about 60 seconds, I had nine labels. Since they are adhesive, I then just stuck them on my jar lids. There is a pucker on the sides which I later learned I can rub out, but I’d already taken this picture. Sorry.
Don’t they look pretty all in a row?
Tips:
Clean the tea infuser fairly quickly after you’ve used it. It’s metal, and there is so much sugar in this mix that it will set up and be very difficult to open. I had to open it while running cold water over it.
Don’t be tempted to double the recipe. Your jam may not set properly.
I had to clean house this week. The cleaning goes so much better if there’s a tiny project that I can look forward to in the middle of the boredom of cleaning the same old things again and again. In a perfect world, we’d all clean each others houses because the cleaning would be more interesting. I know…you clean mine first! Actually, I don’t mind cleaning house…I just would rather clean someone else’s house!
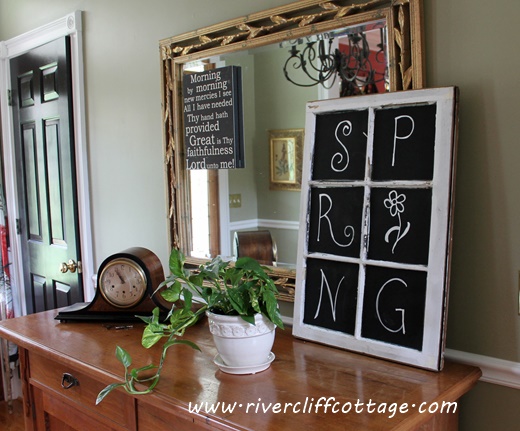
I wanted to do something for Spring in the foyer. I’d meant to put a big bright vase of daffodils there, but the recent cold “snap” halted any of those plans. They are now dingy, brown things, so I had to think of something else. Something involving not getting in the car and going to town or spending any money.
I asked Mike to respray my old window so I’d have a fresh chalkboard surface. I normally do this, but he’d accidentally messed it up so I thought he owed me one. Here’s my project that motivated me to clean today. It took all of about five minutes, but it was enough to nudge me to finish cleaning. This is a no-talent project which works very well for me!
I put it in the foyer. Do you like it? See that little sign on the mirror? I used Velcro tape to hang it and now I can’t get it down.
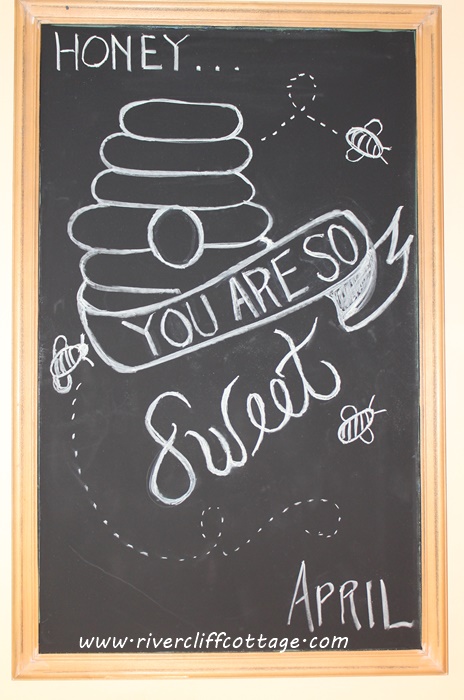
I also did a quick one in the kitchen. I didn’t use liquid chalk on this. I used plain old chalk, and it was a bit dusty but that’s okay. I’m just going to leave this up a few weeks. I put “April” at the bottom so that in “May” I’ll be reminded to put something else up. It’s fun to change out things. I’d pinned one like this on Pinterest. Mike came by and said “you must want something if you’re talking about me like that!”
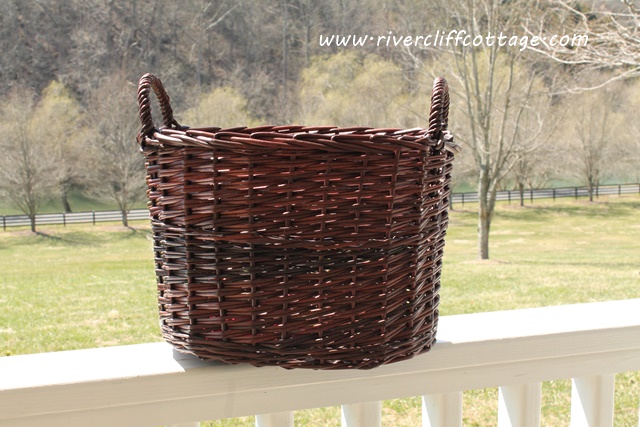
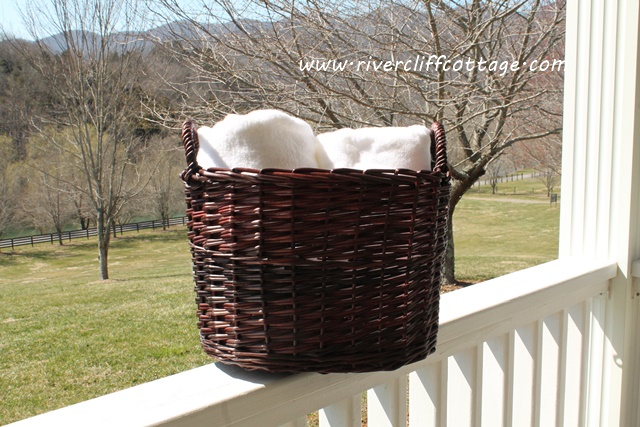
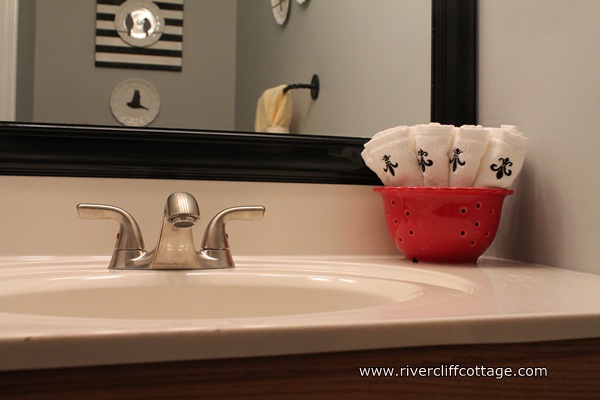
I have a bathroom that is a pretty herbal wash green with red and white accents. It’s a cheery room, but you will have to take my word on that because I can’t get a decent picture in that space. It’s a guest bathroom, and while I have towels in the linen closet, I also keep a couple out in a basket so guests won’t have to plow through what will almost certainly be a messy closet.
Here’s my “towel basket”. It came from TJ Maxx.
Here’s how it works (bet you had no idea this is how it looks with towels…right!)
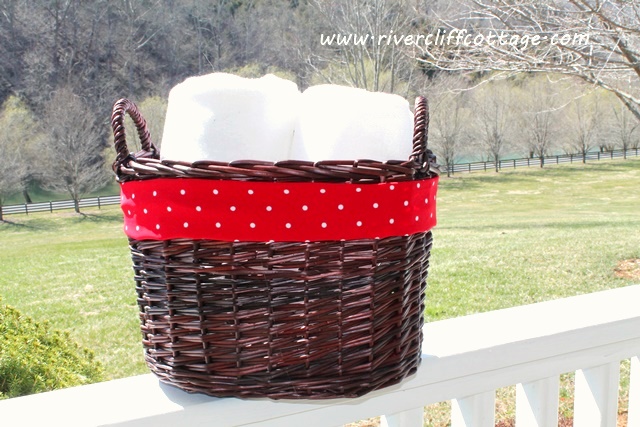
I love red and white and I love polka dots. My mother used to call them “pokey dots.” Mother!! I miss you!! In a day when I had obviously lost my mind and thought I’d try to sew something, I bought a few yards of red and white pokey dots! While it’s not been stored on the front porch all this time, it has been wadded up just like it is here.
That fabric came out of its sad, wadded up state in the closet. Look what I did with just some scissors and glue! POKEY DOTS!!
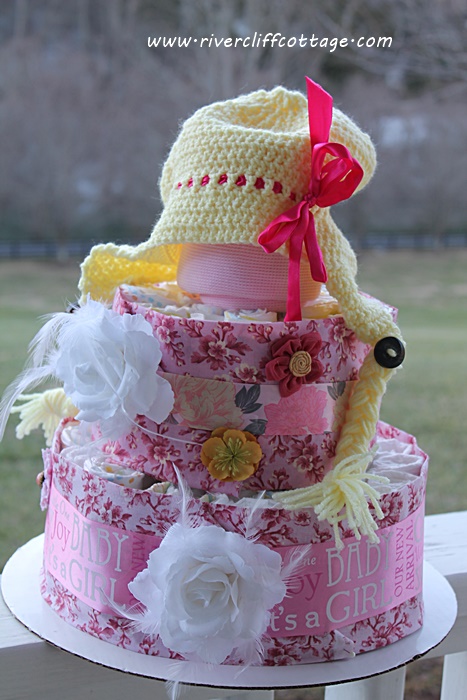
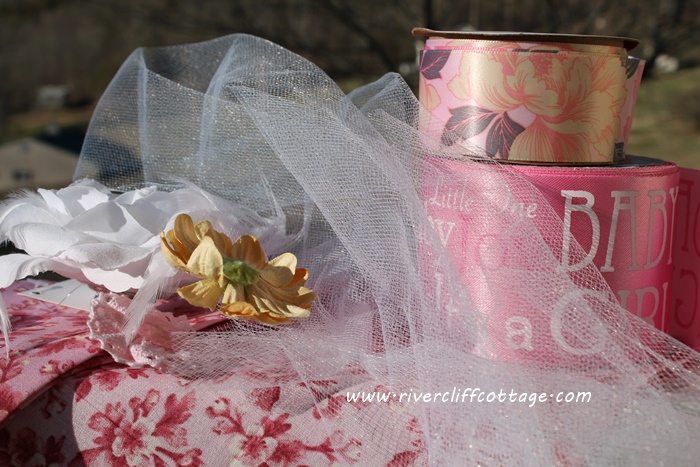
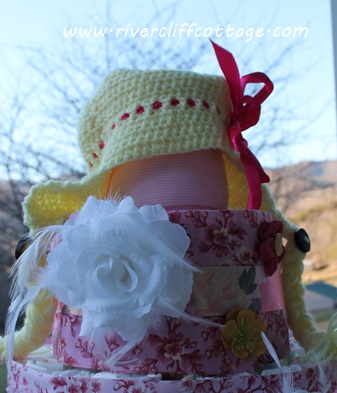
I was up until 3:30 am last night thinking about things I want to do. First on my list was another diaper cake. My Mendota gal pal, DeeDee, is having a baby shower for her sister-in-law with a shabby chic theme. I’m so excited to contribute this Shabby Chic Diaper Cake!
These are so easy. If you have an opportunity to make one, you should give it a try. You will need:
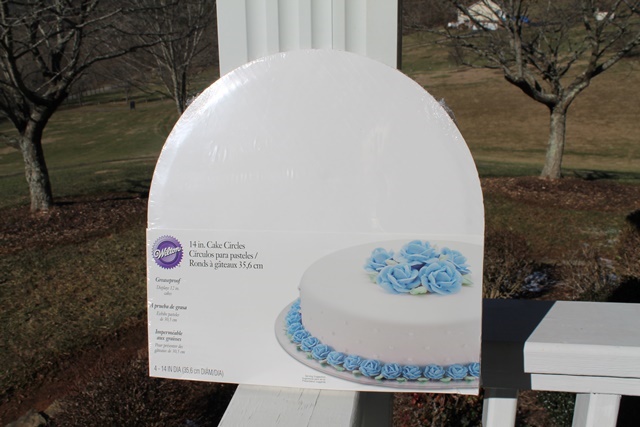
1) A base for your diaper cake to sit on. You might gift wrap cardboard if you don’t have a base handy.
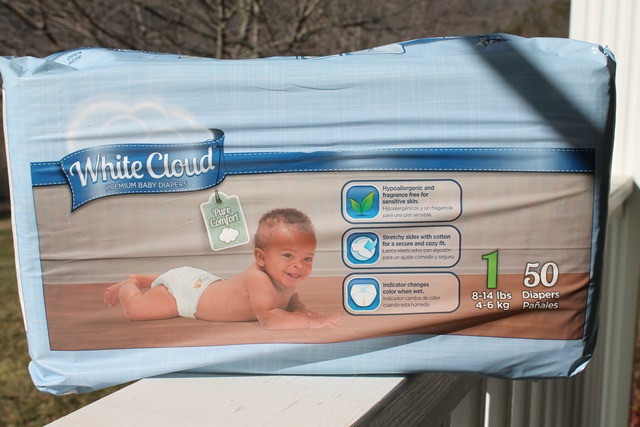
2) Diapers!! For this small diaper cake of two tiers (the 3rd tier is a receiving blanket), 50 or 60 diapers will be enough. Instructions I’ve seen suggest using two sizes of diapers–smaller ones for the second tier and larger ones for the base tier–but this adds to the expense and doesn’t seem to be necessary. Once the cake is disassembled, the diapers will probably all end up in a Walmart bag where the new mama will “fish” around and grab one. She’s not going to have time to check if it’s a Size 0 or a Size 1. See! I’m saving money and helping little mama out!
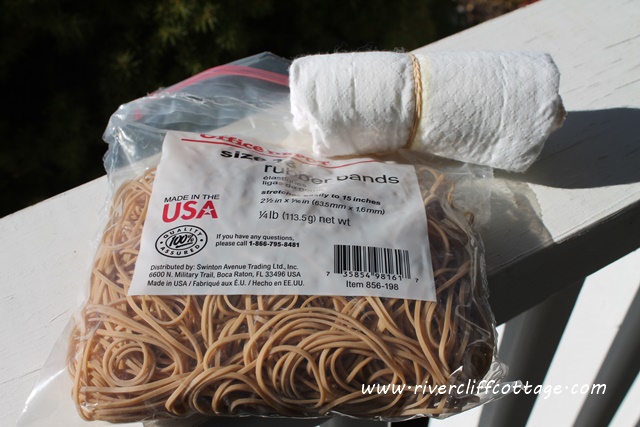
3) You’ll need rubber bands to roll up your diapers. I made sure I had the same size rubber band for each diaper so that they were eveningly “scrunched.” I learned this from my first diaper cake. You’re “ready to roll” (literally) at this point!
Use white diapers if at all possible. I accidentally have boy diapers. Ugh…these are for worms and snails and puppy dog tails. No!! I wanted a diaper for sugar and spice and everything nice!! However, I managed to work through this by folding them in such a way the tiny blue bear is hidden. Sorry little mama!
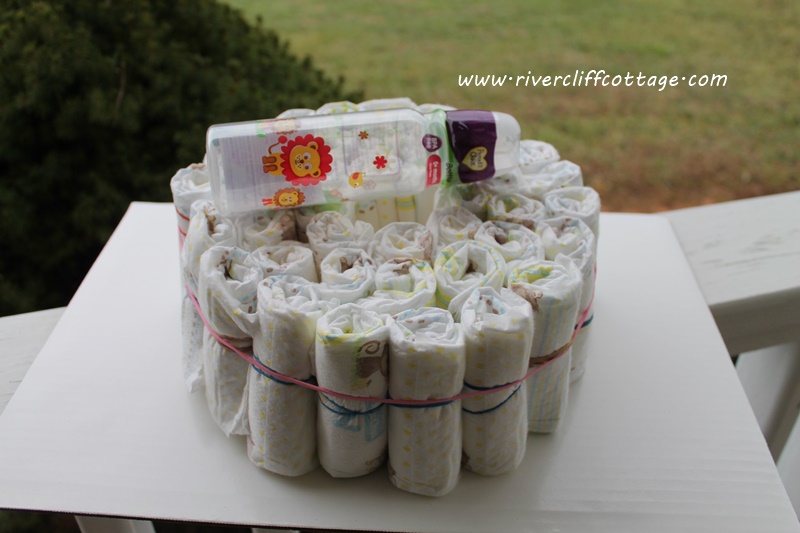
4) An anchor for your circle of diapers is needed. A baby bottle works really well. The picture below is not from this Shabby Chic Diaper Cake. It was from my first one where I had all different colors and sizes of rubber bands. I was still learning…definitely diaper inexperienced! (This was three days ago when I was a young, inexperienced diaper cake maker. Now…well, I’m feeling like a pro!)
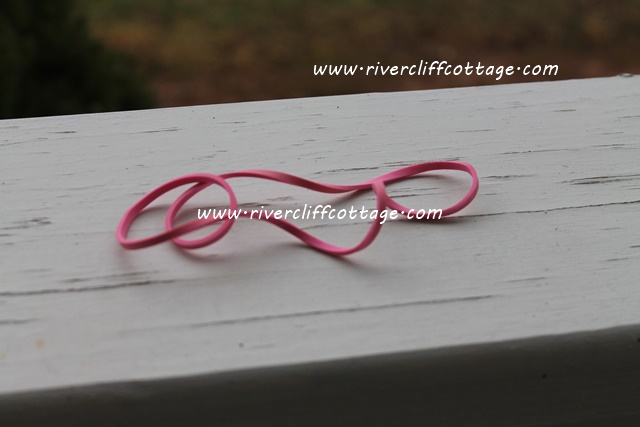
5) You’ll need a giant rubber band to hold all of these diaper together. The rolled up diapers are like herding cats!
6) And the fun part…decorating your diaper cake. Gather all your pretties together.
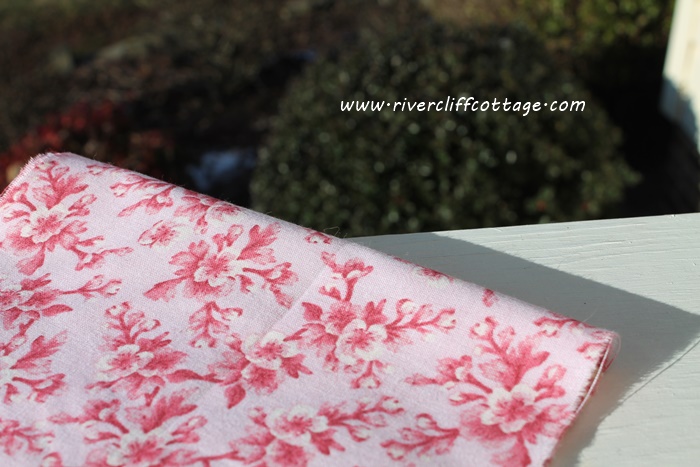
I used fabric to cover my first and second tiers. Because I was going for a shabby chic look, I turned it wrongside out to make it look softer. Here it is…
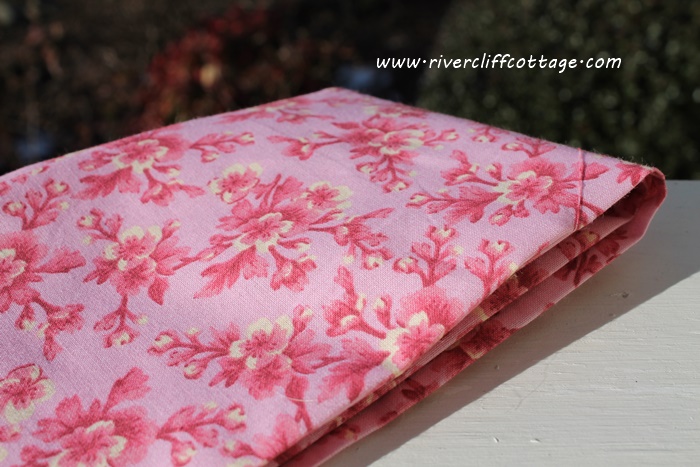
However, I changed my mind on the second tier and turned it right size out to bring out a little bit of yellow…the subtle change in the fabric makes it more interesting.
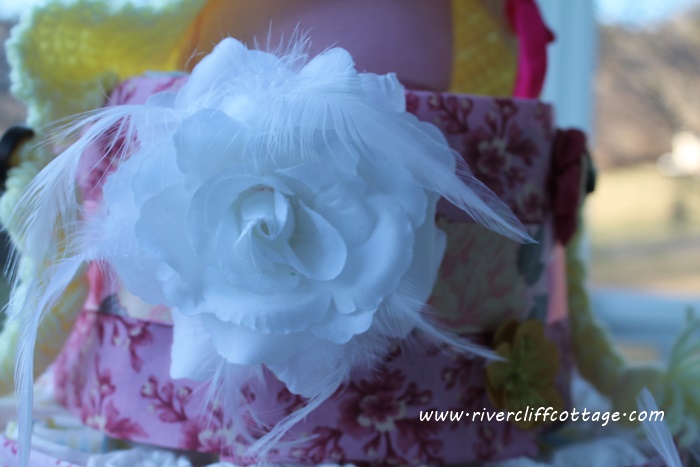
I measured the fabric against the height of the first diaper tier. I ironed and hot glued the seams. Then, I wrapped it around the diaper tier and hot glued again — during this process, you’re not gluing directly to the diapers. Your glue is placed so that it adheres fabric to fabric which, as it dries, becomes snug enough to stay in place on your diaper tier. This is also the time that you add an embellishment or two. Be careful! I hot glued my finger. Ouch!!
I like the pretty white flower. I put two of them on the cake.
The third tier is a pink receiving blanket with a crocheted yellow child’s hat. My friend via this blog, Libby Brewer, made it for me. Thank you Libby!! Libby made four other Christmas gifts for my family members. She’s very talented.
I’ve been off of here a few days. It’s good to be back. I’ve missed you!
On the Wednesday before Thanksgiving at mid-afternoon, we had a BIG SURPRISE which surrounded identify theft. Without dragging you along on all the details, we temporarily found ourselves with no money via ATM or credit card for the upcoming Thanksgiving holiday. Nada. It’s unweaving and being “fixed” now but it was a wake up call.
I think in the long run, it’s a good thing because Mike will finally get involved in our household budget.
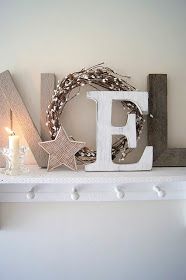
So…I’m decorating the house for Christmas on a budget. I’d planned on going down to Hobby Lobby and copying this “Noel” which I found on Pinterest from Once.Daily.Chic
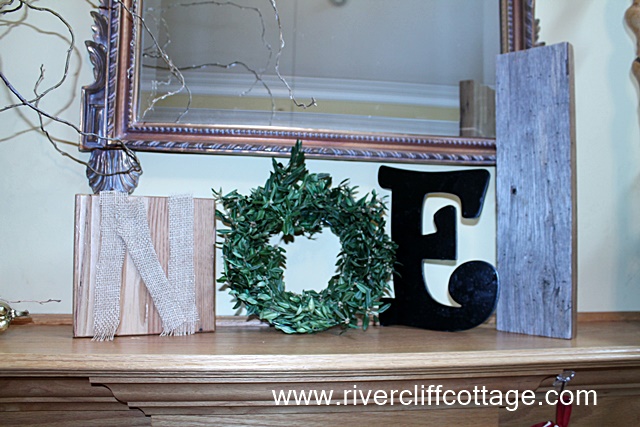
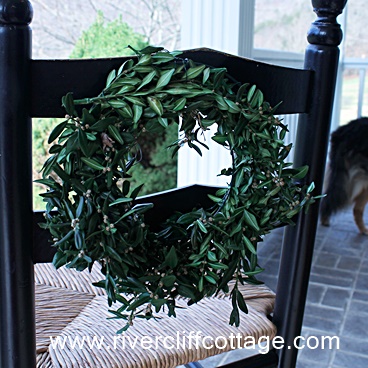
However, rethinking my newly non-existent budget, I went in a slightly different direction shopping our house, the woodshop, etc. Lo and behold, I had an “E”. The rest is the preserved boxwood wreath (read How to Preserve Boxwood in 20 Days here) I made last week and a couple of pieces of wood.
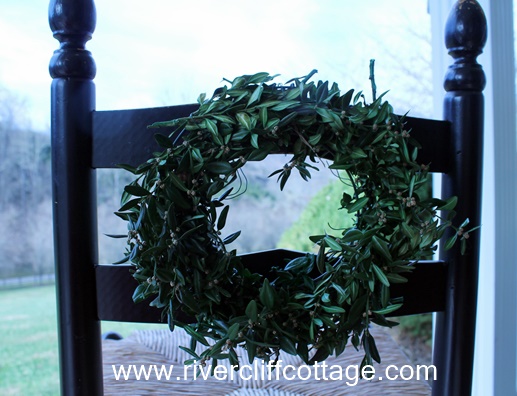
Fresh wreaths are the best ones but they dry out!! I’m going to have some guests in early December, and I want to have wreaths up. I decided to try preserving boxwood and making wreaths that, hopefully, will last until Christmas and perhaps be stored for next year. I visited a lot of bloggers and asked questions, but ultimately, everyone had a slightly different approach on how to preserve boxwood. I ended up talking with a local floral supply store and followed their insructions. Here’s the end result..
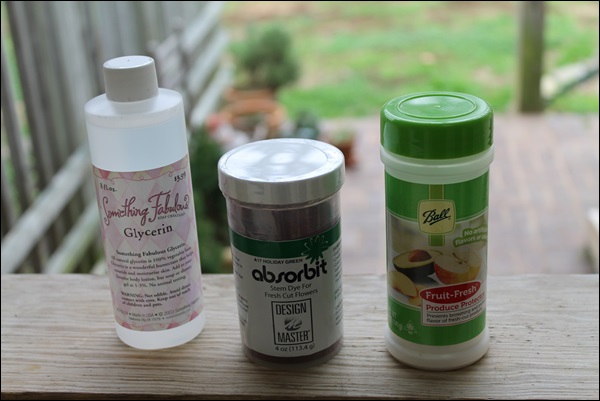
This process takes more time and patience than supplies. However you will need 20 days and the following for two jars of the mixture . I doubled what is listed below and made enough for four Mason jars — each with about 3-4 inches of liquid in the jar.
One cup Glycerin (I found mine in the soap making area of Hobby Lobby). $4
Two tablespoons Absorbit Floral Dye – Holiday Green (floral supply store). $9
One tablespoon absorbic acid (if you are a home canner, you’ll already have this)
One and one-half cups hot water
Wire wreaths
Floral wire
Boxwood clippings
Gloves
Spoon to mix the above
Two Mason jars
Day One
Start by taking boxwood cuttings about 8 inches in length.
Prepare your mixture of glycerin, dye and hot water. I used Mason jars for this project. Stir your dye and hot water until it is blended, and then add the glycerin and absorbic acid.
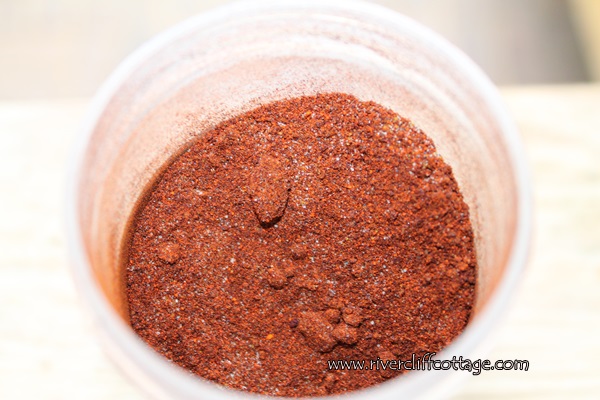
The Absorbit Floral Dye is not green in its dry form. It looks like chili powder.
Don’t be mislead. This is a bright green dye. Wear gloves or you’ll look like the Jolly Green Giant.
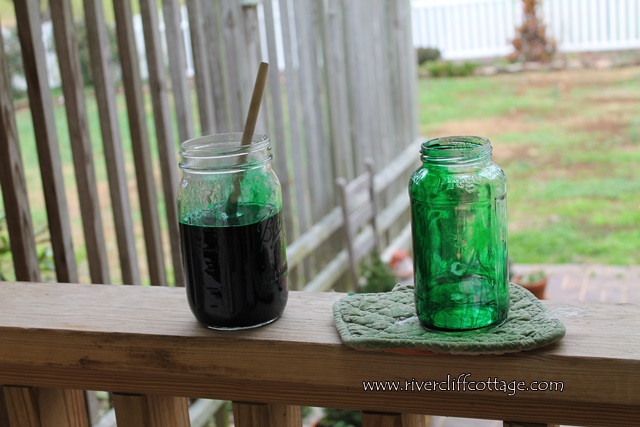
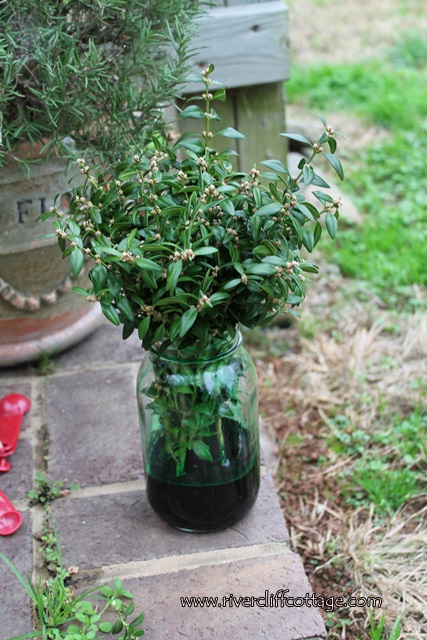
Trim the lower branches of your boxwood, snip the end of the stem one more time and immediately place in the mixture in the jar and mixture. If possible, work outside because of the dye.
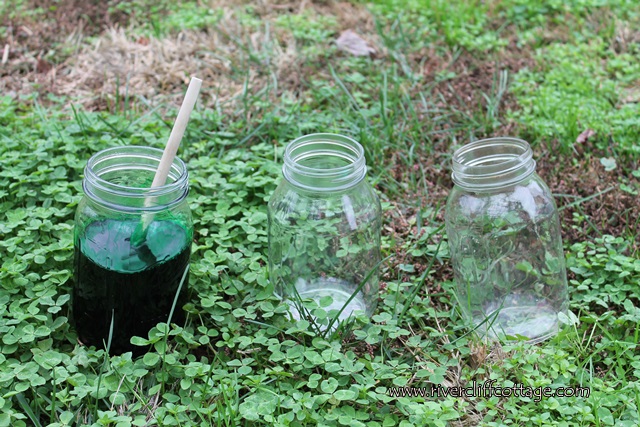
All the stems are sitting in the preservation liquid in the picture below These actually look pretty, but there is no way I’d leave them sitting out. The disaster potential is just too high with all this bright green dye. I hid them in a far away corner of the garage. Here’s one completed jar ready to be carefully walked to its hiding spot.
Day 10
By this time, your cuttings are ready to start drying. When removing the cuttings from the jars, it’s best to do this outside allowing excess dye to drain off the stems. Here’s a few of mine just lying on the grass. Note the bright, holiday green stems:
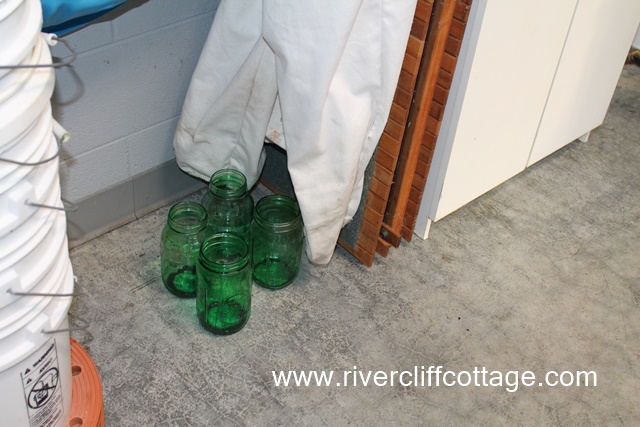
Following this step, place the cuttings on newspaper on top of plastic and allow them to dry for ten days. I did this in my garage floor in an out-of-the-way corner, and I checked on them once during the 10-day period. They were still there….still green! Interesting side effect, you’ll now have some green jars.
If this green does not wash off, I’m going to place white carnations in the jars for Christmas.
Day 20
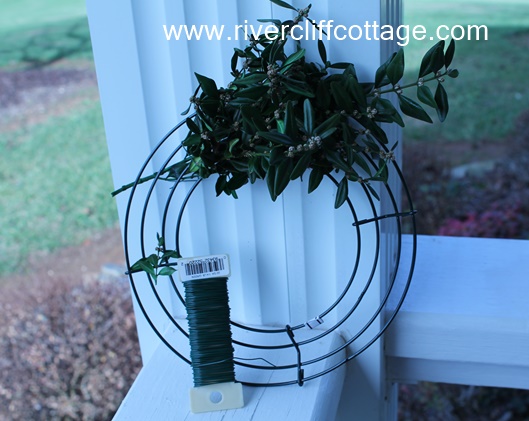
You are ready to make your wreath(s). All that is required now is your wreath form, floral wire and your talent and patience in tucking and wiring the branches.
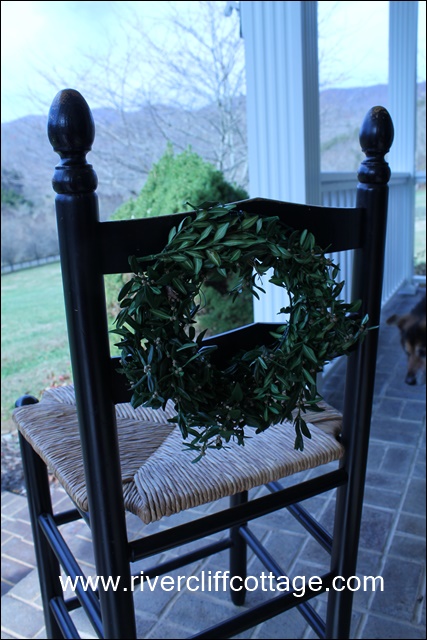
I have a few stems still sticking out, but I like the casual look of the wreath. It does not look like it was made in a “production” environment. My two little wreaths will go on the back of barstools in the kitchen. A few pictures of my first completed wreath. I took these outside because the light is so much better. Check out that sweet little nose in the right hand side of the picture. She helped me.
Here’s another…I’m not even sure if I’ll add a bow but I will tidy it up a little bit…I see a green stem sticking out.
From my four jars, I have enough to make two wreaths like this with a small amount of boxwood left over. The plants did not absorb all of the liquid so I started four more jars of cuttings. I plan to make one larger wreath from this batch.
Thank you for reading RiverCliff Cottage. Roslyn Beaule
Since I live 17 miles from a grocery store in Mendota, Virginia, it’s important to have items on hand that can be counted on. By making these meals in a jar recipes and having just a few other items on hand, I can count on having soup for dinner when I’m tired, short on money or just wanting a bowl of soup.
We have definitely entered fall in Mendota, and it’s the time of year I fix soup almost every Saturday. Week before last it was minestrone, last week was vegetable beef, and this week it’s chicken noodle. It’s easy and it keeps Mike and me eating relatively nutritiously. Concurrent with this, I rekindled an old interest from a few years back… “Soup in a Jar” recipes.
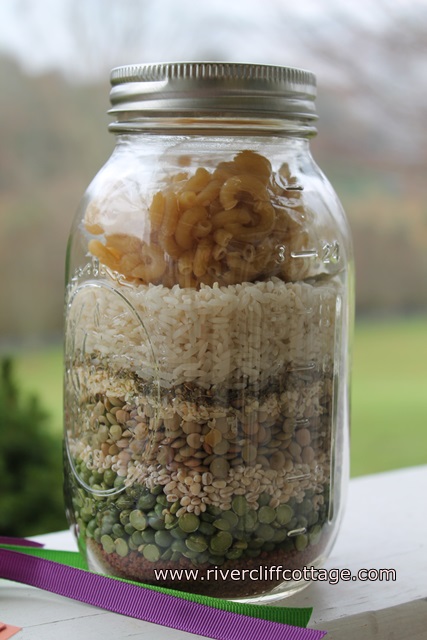
I thought it would be convenient to make a few up for myself and for gifts. I found one I haven’t made, but based on the ingredients, I’m sure I will like it. It’s also eye candy in a jar. Very pretty for a fall kitchen. (Keep reading…the recipe is below). Also, and way off base, do you feel more secure when you have a few of these types of things around? I do…if the power is out, etc., I can always make this soup on my gas range. It might not include the meat but I think it would still be tasty.
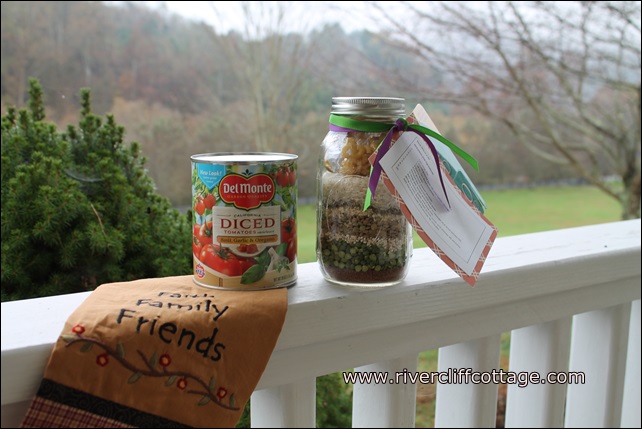
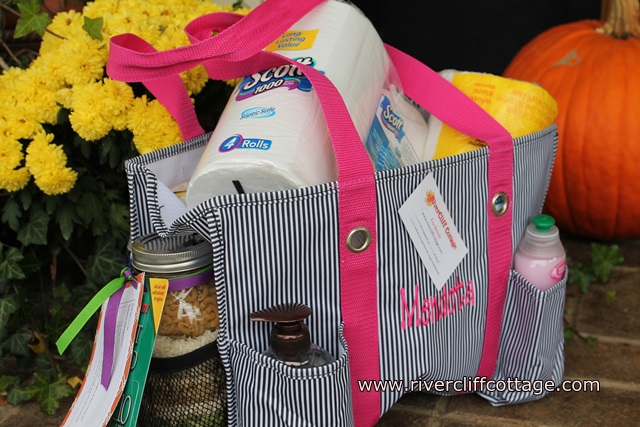
This one is going to be a gift so I’ve added a Food City gift card with my jar pictured above because the ingredient list calls for a 48 oz. can of tomatoes and ground beef or mild Italian sausage. For a small family struggling, this soup mix and $10 gift certificate to purchase meat, tomatoes and possibly a gallon of milk will be useful. For rural people like me who like home-canned tomatoes, I’ll give a jar of my tomatoes, the soup mix and a $5 gift card which will make it more affordable for me to give plus home-canned tomatoes are more tasty.
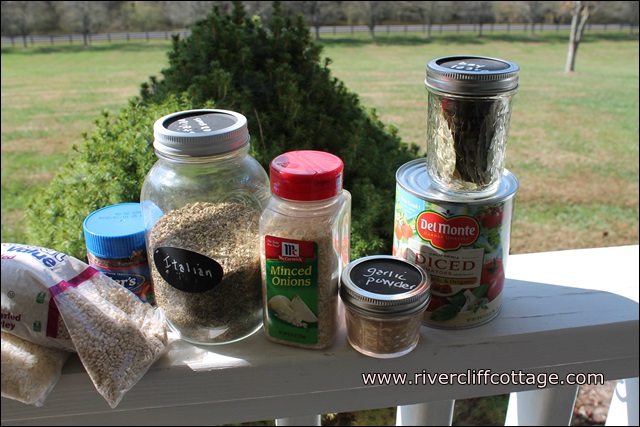
I had some of the ingredients on hand but I had to buy a few. I really don’t cook on my porch but it’s such nice lighting that I haul everything out there and take pictures.
The directions below provide instructions for both how to make the Bean Soup in a Jar (as in putting the jar of stuff together) as well as how to prepare the soup. If you give this as a gift, you’ll need to include directions on how to prepare, and that’s also included.
Bean Soup In a Jar
Ingredients that go inside the jar:
1/3 c. beef bouillon granules, 1/2 cup dried split peas, 1/4 cup pearl barley, 1/2 cup dry lentils, 1/4 cup dried onion flakes, 2 teaspoons dried Italian seasoning, 1/4 teaspoon powdered garlic, 1/2 cup uncooked long-grain white rice, 2 bat leaves, 1/2 cup uncooked macaroni.
Preparation ingredients:
1 lb ground beef or Italian sausage
1 28 oz. can of diced tomatoes
3 quarts water
Fresh ground black pepper
Directions to accompany your jar:.
Ingredients: One jar soup mix, one pound of ground beef or Italian sausage, one 28. oz canned tomatoes and 3 quarts water and fresh ground pepper to taste.
1. Remove macaroni and set aside
2. In a large pot, brown ground beef or Italian sausage and drain excess fat
3. Add tomatoes, water and soup mix
4. Bring to a boil, reduce heat to low, and simmer 45 minutes.
5. Add macaroni, cover and simmer and additional 15-20 minutes.
The jar I pictured in this post actually ended up going into a Silent Auction which will be held November 11 here in Mendota. I used a Thirty-One bag I bought over a year ago and filled it full of useful things. The Soup in a Jar fit right in one of the side pockets. Fun to give, fun to make and fun to receive!
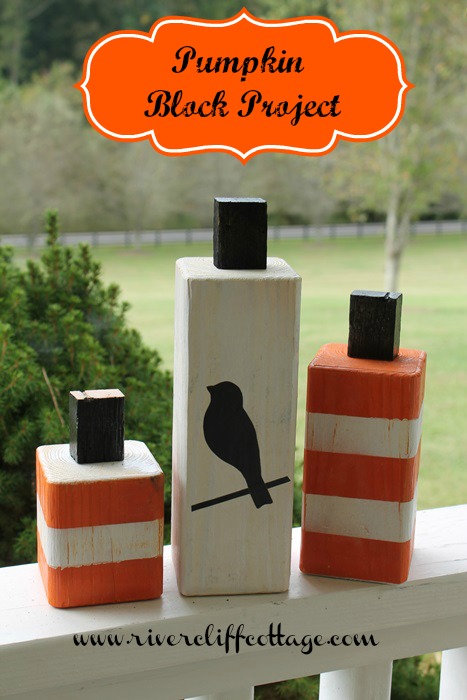
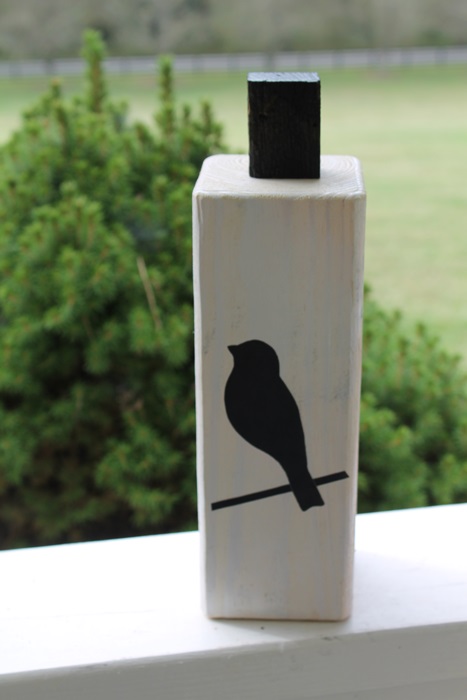
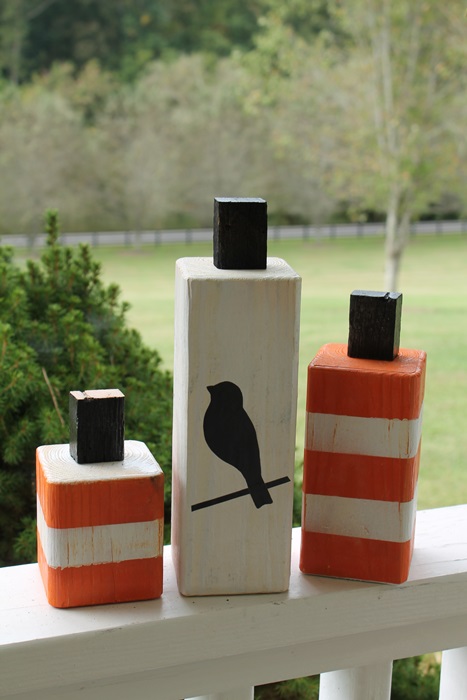
I love these little pumpkin blocks. I was searching around Pinterest when I could not sleep last week and was inspired to try these blocks. The Pinterest post was by a blogger named Kierste. You can find Kierste’s blog with lots of good ideas at www.simplykierste.com.
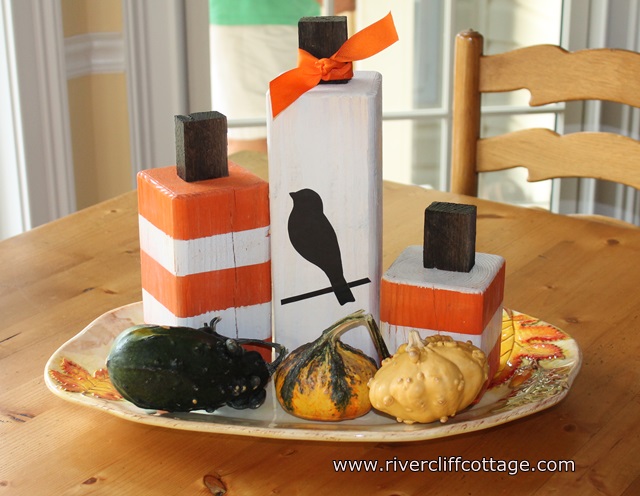
I like them in the kitchen…keeping it simple.
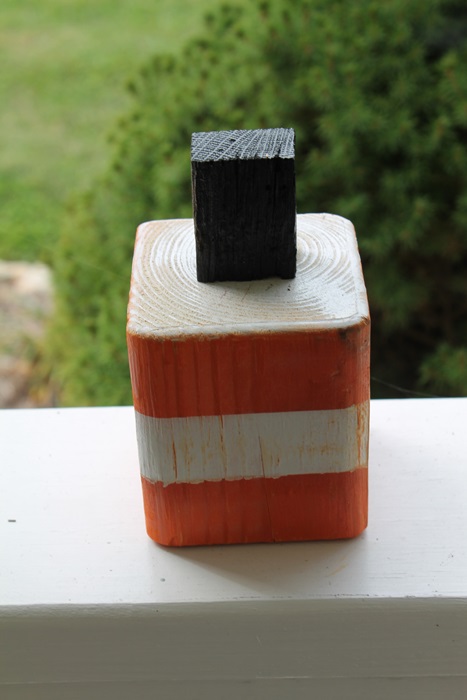
Here’s a short, square pumpkin…
I left the 10 inch block white, and since I had some vinyl birds left from another project, I added that. Did you know that Mendota, Virginia (where I live) is one of the “Top Ten” places in the United States to count hawks…volunteers counted 4076 this month. Here’s the big block….
And here they are again…all together.
This was a very easy project requiring only the following materials:
1) 4 x 4 fence post cut into 10 inch, 7 inch and 4 inch lengths. There will be lots of fence post left over if you want to keep going.
2) Painter’s tape
3) Orange and white spray paint
4) Vinyl art or letter if you want that kind of thing
5) Small blocks or any other item you can find that will resemble a stem
6) Sand paper or steel wool (whatever you have on hand)
Your blocks will be a little rough after the cut, so you’ll want to sand them. Spray paint your blocks and stems. When dry, add the tape and spray paint the blocks with the alternate color. Remove tape, sand lightly, and your project is finished unless you wish to add a piece of decorative vinyl.
It’s fall…and I love looking at fall craft ideas. Follow me over to Layla’s “The Lettered Cottage” and see hundreds of ideas submitted by bloggers. There will be something that you’ll see and want to do!!
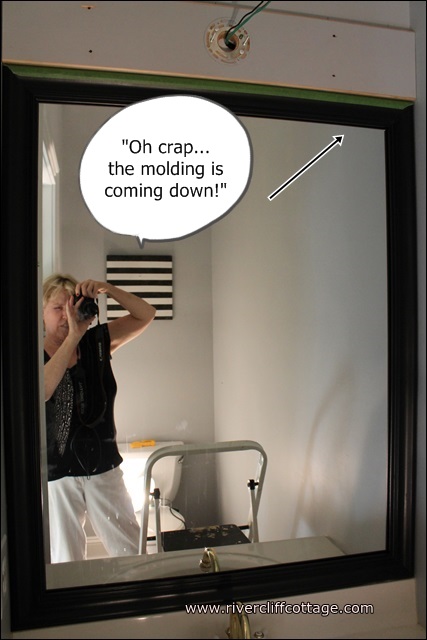
When we did our Little Bathroom Project (see here if you haven’t read this), I wanted an updated look to the builder grade mirror that was glued to the wall without going to the trouble of removing the existing mirror. We decided to “frame out” the mirror using molding. If you’ve been reading about this project, you may be tired of it; but if you’re going to try a project like this, you should read on. It could save you some trouble.
We searched on the internet and found several success stories, but we also found some failures. My favorite blogger, because she is entertaining, resourceful, talented and funny is Rhoda of Southern Hospitality. One of Rhoda’s most popular posts is on the subject of placing molding on a mirror. She was successful. Here it is if you haven’t seen it.
The most difficult part of this project was getting that molding to stay in place long enough to dry and adhere to the slick mirror. We tried several things including Liquid Nails for Glass and for Mirrors. Gravity was working against us, and I did not want to spend the entire night in the bathroom holding up molding! The picture below was our first try. We mitered the ends on this try. Look at the top…it was sagging…and this was after all the work when we thought it was done!!! I said the crap word, and I won’t tell you what Mike said, other than it started with an “S”.
It actually fell down right after this picture was made and the ends got banged up, so we changed gears and used four blocks and four pieces of molding. More cutting and more painting. However, it was easier than doing the miter thing again, and we felt the blocks might add stability. Here it is again…with the blocks. I called these “ladies breast blocks” for obvious reasons.
And now, here’s Mike’s solution to ensure that the molding that you’ve so carefully painted and cut will stay attached to the mirror! This can save you some heartache. He said no one should have to watch their pretty, mitered wood fall into the sink!
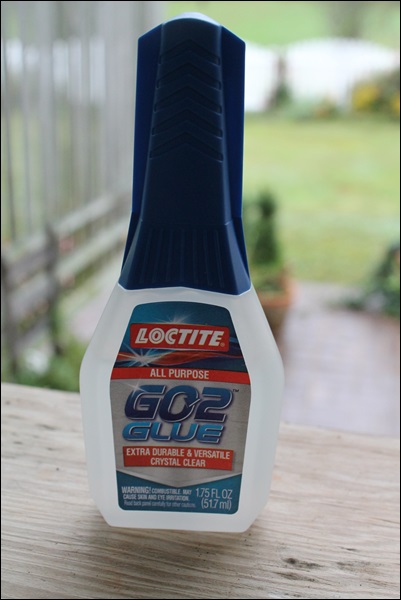
Mike came to the conclusion that there is not just ONE solution for effectively installing molding over a mirror. It is actually a two-fold solution — using TWO types of adhesive. One adhesive is for quick trying (hot glue) and the second for the strength to hold that mirror up for a long time. Both of these glues must dry clear because of the reflective quality of the mirror. Mike used about 80% Loctite GO2 Glue and about 20% glue from my cheap craft glue gun. This works!!
We were afraid to use only hot glue because it becomes brittle over a period of time. Have you ever used hot glue on something and it works fine for a few days and then things start falling off? With two types of adhesive, our molding was easy to place on the mirror (didn’t have to hold it up there forever) and should last. Here’s the pretty frame…
If you are not mitering your corners and use corner blocks like we did, put them on first. We also added a little tape until they were good and dry just as insurance. I did not want the block to come tumbling down and getting glue everywhere. These blocks offer support for those long, vertical and horizontal pieces that just want to fall down and make you cuss.
Last, and Rhoda mentions this…paint both sides of your molding when framing a mirror. We started this and only painted one side. When the molding was held into place on the mirror (simply holding by hand to see how it fit…not when we were gluing thank goodness!), the unpainted side actually reflected in the mirror.
Thank you for reading RiverCliff Cottage. If you read this and have questions, just email me!