It is cold here today. We were -2 last night, and the high temperature today was 14. Since our house sits near the river, we’re actually warmer than most spots in Southwest Virginia. In geography, that would be called the “maritime influence.” Through some miracle, we did not lose power last night. Thank goodness.
My neighbor, Marck Dean, took some very cool pictures of the North Fork. Looks a little nippy. Wouldn’t it be fun to have a Mendota Polar Plunge? That’s a fundraiser we might try!
Luckie went outside today. You have to dress for this weather. She wore her blue Polartec.
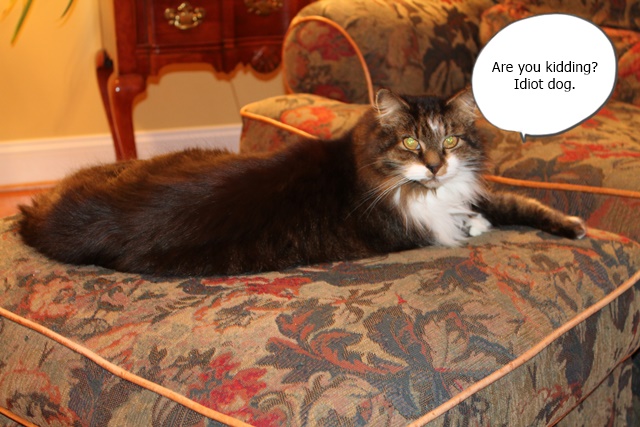
She asked Gracie if she wanted to go. Gracie said no. No.darn.way. I like my couch.
Gracie also said “Luckie you’ve lost your mind. Look at the North Fork! It’s very pretty, but it’s got icebergs.”
Sam the Cat joined in the conversation. He said “*!&%” and “I like my chair!” He added…
And although Luckie reminded everyone that the river really is pretty today…
No one wanted else wanted to go.
Do you think there will be lots of babies 9 months from now?
We’re all staying in and staying warm tonight here at RiverCliff Cottage. I hope your water keeps running, your heat pump keeps pumping and your animals are safe and warm.
Happy New Year’s Eve. We are definitely not going out tonight. We never go out on New Year’s, but tonight, we’re barely moving. It all started last night. Mike and I went to Mellow Mushroom to play Trivia. I was so excited…”Dude” (Mike’s Trivia name) and “Jedi” (me) were ready to go. Feelin’ good! I’d briefly reviewed maps of Europe, checked out a few major rivers, etc. so I would know what countries bordered each other, etc. All prepared to kick Dude’s butt. However, the game was not working. Drat! Also, during the evening, Mike said he was cold. Then, on the way home, he said his stomach felt upset. “Dude” was being replaced with “Dud” — he was sick. He has been in the bed today still complaining of chills with the addition of aches and continued nausea. I know he’s not faking because he’s not eaten anything all day and had just two sips of ginger ale. Poor guy! I’m staying way…far…away from him. I hate getting sick. Although…this could potentially kick off the year with a weight loss opportunity.
I’m wondering where he got this. I’ve read that the Norovirus is out and about and very contagious, but I don’t know anyone who has had it. If you know anyone, drop me a note and let me know.
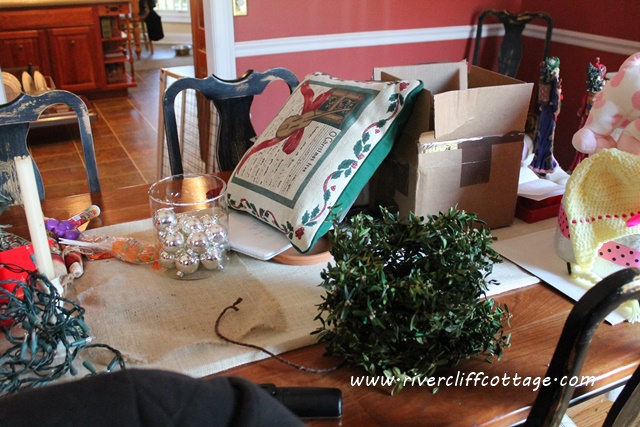
So I’ve been working solo around here today doing what I’ll bet half the United States is doing…putting away Christmas stuff. I cannot get this stuff put away fast enough. On December 26th, I decided to try to keep Christmas in my heart, but it has to leave my house.
That green stuff on the table (above picture)? It’s my preserved boxwood wreaths stacked up. This is definitely something you should try if you like miniature wreaths. It’s easy, and while the wreaths are brittle at this point, they are still green and can be used again. (I’m assuming that everyone reading saw the post on how to preserve boxwood, but just in case it’s here!)
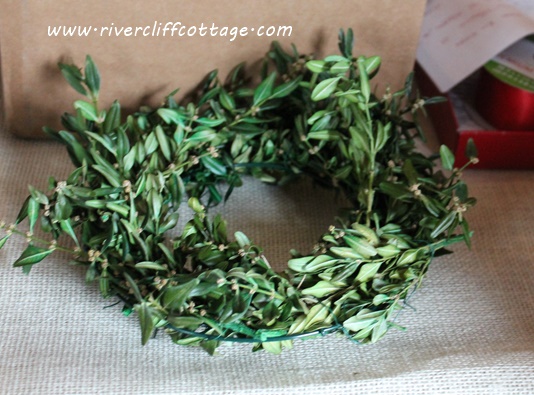
Again…
There are so few things I do that turn out good, so please let me have my moment. Let’s look at this little preserved boxwood one.last.time. Four weeks and still lookin’ good.
I packed the precious darlings in a box. I’ll use them next year! I’ve already made a list of things I want to do next Christmas and one thing is to spell “JOY” with the “O” being one of my wreaths. I bought the J and Y at Michael’s on sale!! They’re in the box, too!
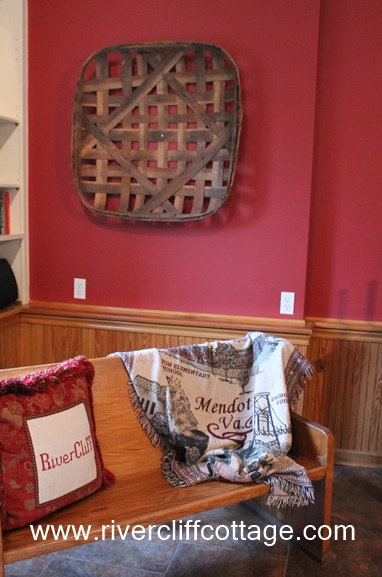
I am almost finished decorating the family room for Christmas…sans tree. We do not put a tree up until the eve of Christmas Eve. We like a “live” tree, and I don’t want to worry about a tree drying out. But still..I don’t wanna wait until that close to Christmas to have that Chrismas-y feel! Here’s where that pretty tree will go when it DOES arrive…right in this corner. I can just see it…smell it!
This is a comfortable room. It used to be a garage, and we turned it into a den to try and keep the doggies out of the house for at least a portion of the time. It worked until they became too feeble to climb steps. 🙁
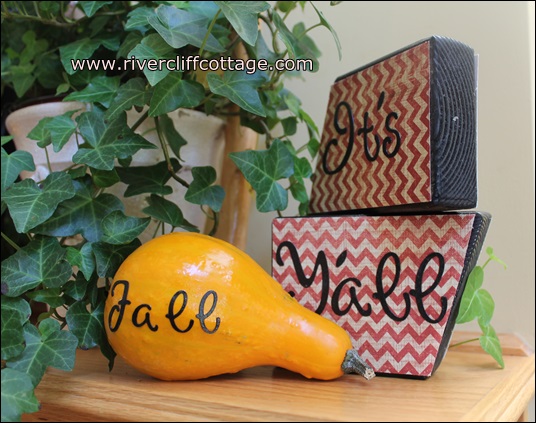
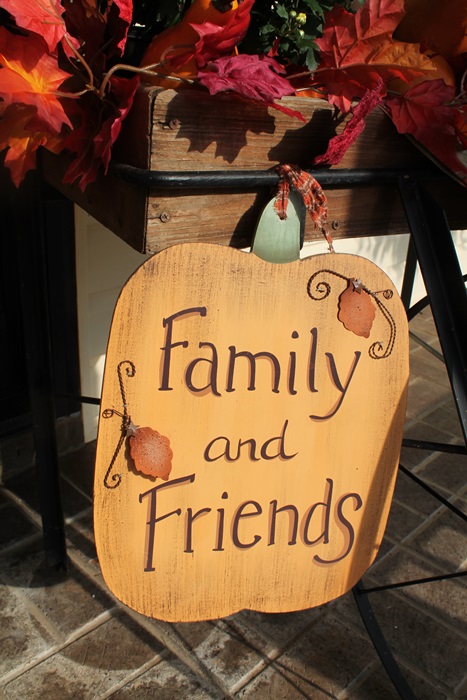
Do you see the little wooden truck on the hearth? This post is about that little truck and what it’s hauling. It’s full of gourds. While putting the garland up on the front porch…I thought “what the heck am I going to do with the gourds?” Last year, I had loads of them–perfectly round– and I spray painted them gold and piled them everywhere. This year, however, I just have a few gourds…all of them looking like large pears. Here they are in their fall clothing…before they got all fancy for Christmas. They were really into fall…they even wore a monogram.
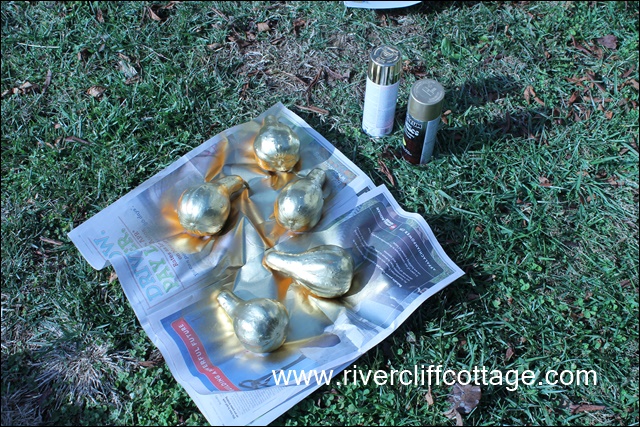
And they were hanging around on the porch…that’s where I found them today.
Begging not to be thrown away, they asked about a spray tan. “What?” “Yes…a spray tan…we want a spray tan like the gourds got last year!” I then realized they were talking about being spray painted gold. “Oh…sure,” I replied..”why not?” And here they are!
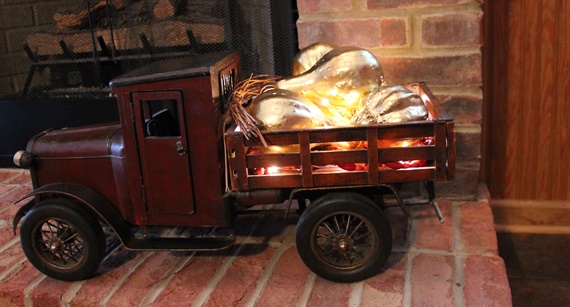
And now they are ready to roll with their new look. I don’t think I can trust these flashy gourds. They’ve went out and got “lit.”
And do you know what I hear when walk by this little truck? They giggle and say “Merry Christmas!” Really!
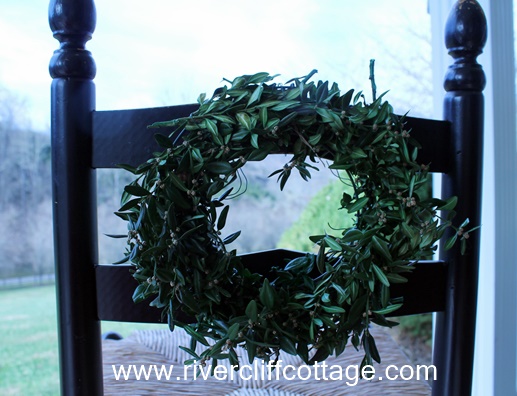
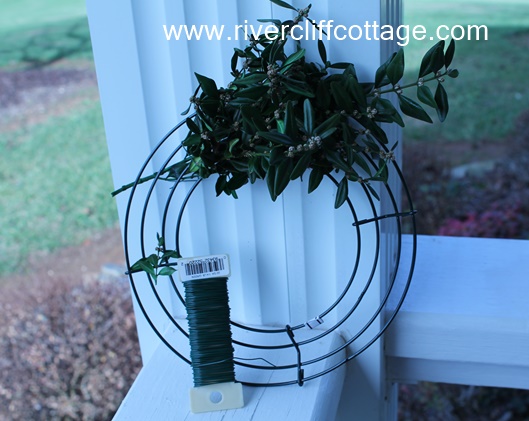
Fresh wreaths are the best ones but they dry out!! I’m going to have some guests in early December, and I want to have wreaths up. I decided to try preserving boxwood and making wreaths that, hopefully, will last until Christmas and perhaps be stored for next year. I visited a lot of bloggers and asked questions, but ultimately, everyone had a slightly different approach on how to preserve boxwood. I ended up talking with a local floral supply store and followed their insructions. Here’s the end result..
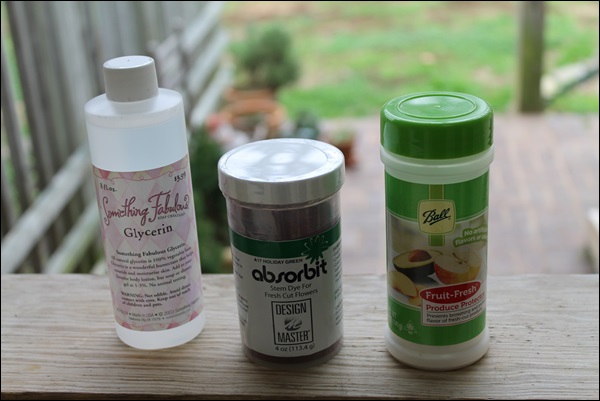
This process takes more time and patience than supplies. However you will need 20 days and the following for two jars of the mixture . I doubled what is listed below and made enough for four Mason jars — each with about 3-4 inches of liquid in the jar.
One cup Glycerin (I found mine in the soap making area of Hobby Lobby). $4
Two tablespoons Absorbit Floral Dye – Holiday Green (floral supply store). $9
One tablespoon absorbic acid (if you are a home canner, you’ll already have this)
One and one-half cups hot water
Wire wreaths
Floral wire
Boxwood clippings
Gloves
Spoon to mix the above
Two Mason jars
Day One
Start by taking boxwood cuttings about 8 inches in length.
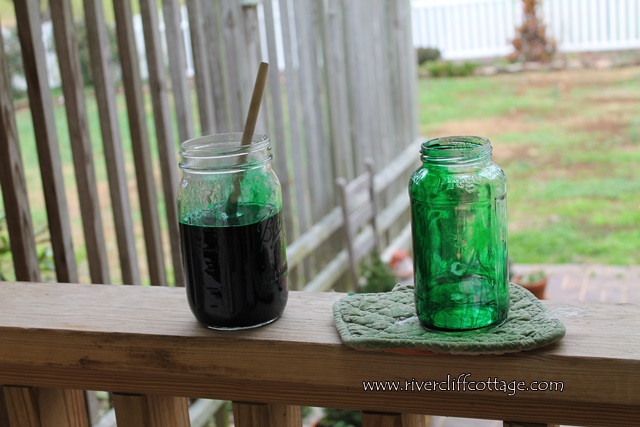
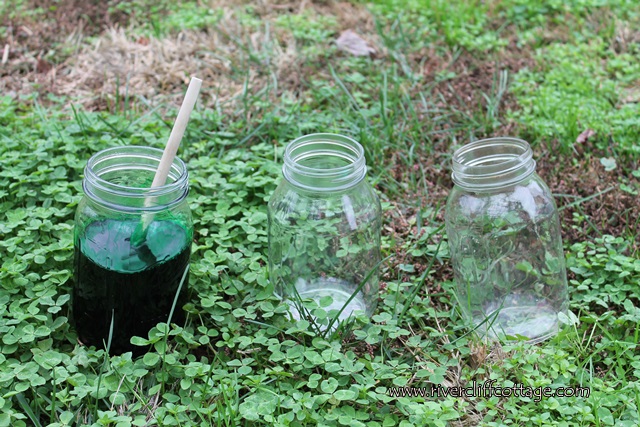
Prepare your mixture of glycerin, dye and hot water. I used Mason jars for this project. Stir your dye and hot water until it is blended, and then add the glycerin and absorbic acid.
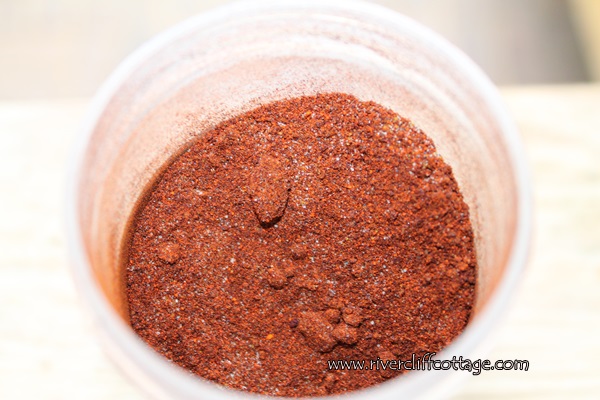
The Absorbit Floral Dye is not green in its dry form. It looks like chili powder.
Don’t be mislead. This is a bright green dye. Wear gloves or you’ll look like the Jolly Green Giant.
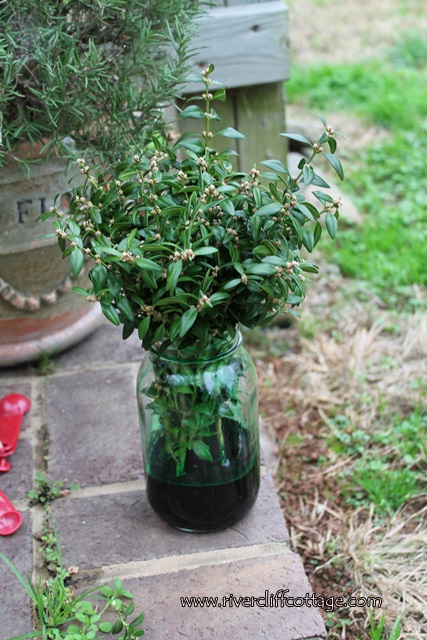
Trim the lower branches of your boxwood, snip the end of the stem one more time and immediately place in the mixture in the jar and mixture. If possible, work outside because of the dye.
All the stems are sitting in the preservation liquid in the picture below These actually look pretty, but there is no way I’d leave them sitting out. The disaster potential is just too high with all this bright green dye. I hid them in a far away corner of the garage. Here’s one completed jar ready to be carefully walked to its hiding spot.
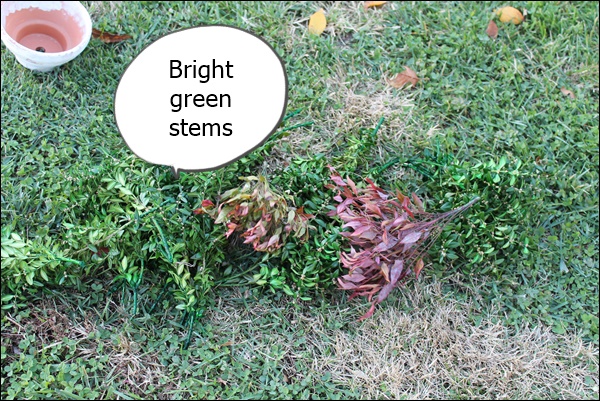
Day 10
By this time, your cuttings are ready to start drying. When removing the cuttings from the jars, it’s best to do this outside allowing excess dye to drain off the stems. Here’s a few of mine just lying on the grass. Note the bright, holiday green stems:
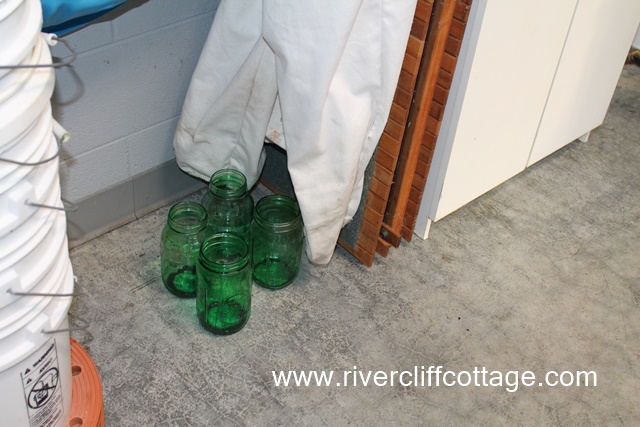
Following this step, place the cuttings on newspaper on top of plastic and allow them to dry for ten days. I did this in my garage floor in an out-of-the-way corner, and I checked on them once during the 10-day period. They were still there….still green! Interesting side effect, you’ll now have some green jars.
If this green does not wash off, I’m going to place white carnations in the jars for Christmas.
Day 20
You are ready to make your wreath(s). All that is required now is your wreath form, floral wire and your talent and patience in tucking and wiring the branches.
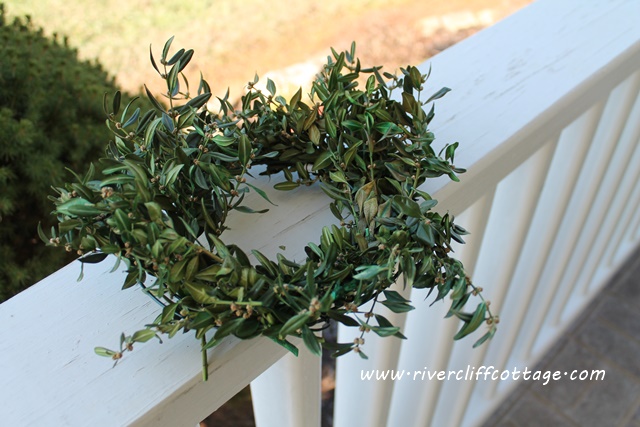
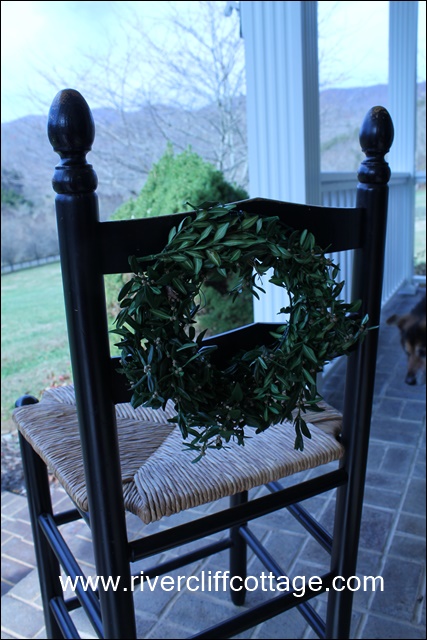
I have a few stems still sticking out, but I like the casual look of the wreath. It does not look like it was made in a “production” environment. My two little wreaths will go on the back of barstools in the kitchen. A few pictures of my first completed wreath. I took these outside because the light is so much better. Check out that sweet little nose in the right hand side of the picture. She helped me.
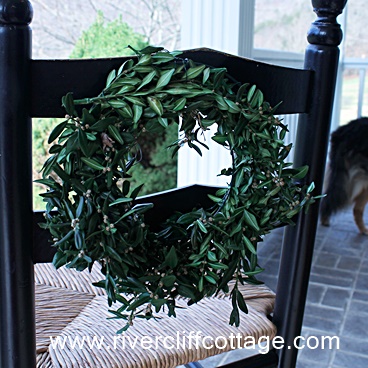
Here’s another…I’m not even sure if I’ll add a bow but I will tidy it up a little bit…I see a green stem sticking out.
From my four jars, I have enough to make two wreaths like this with a small amount of boxwood left over. The plants did not absorb all of the liquid so I started four more jars of cuttings. I plan to make one larger wreath from this batch.
Thank you for reading RiverCliff Cottage. Roslyn Beaule
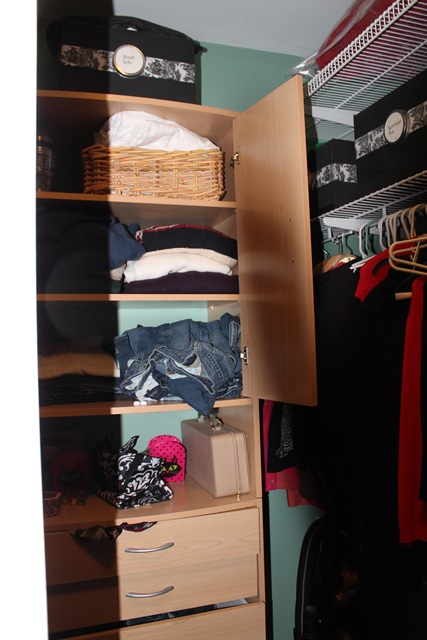
I’ve lost a pair of shoes recently. LOST! They will turn up somewhere in this house, but I can’t find them. This occurred following a comment from a girlfriend that I was “so organized.” Really…says who? I’ve searched high and low, beginning in this “organized” closet…
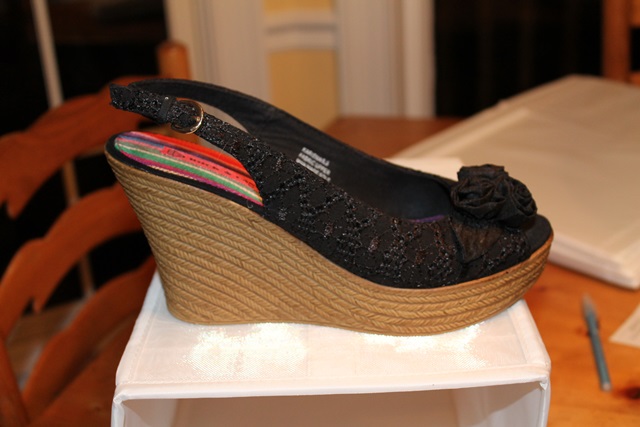
After I snapped this picture, I did start working in the closet. It’s better, but it’s not picture worthy. Here’s what I really got excited about. I bought some shoe organizing units a long time ago, but I just put them to use tonight. Here’s a pair of my favorite shoes…they aren’t winter shoes, so they need to be stored, but I don’t want to forget where they are.
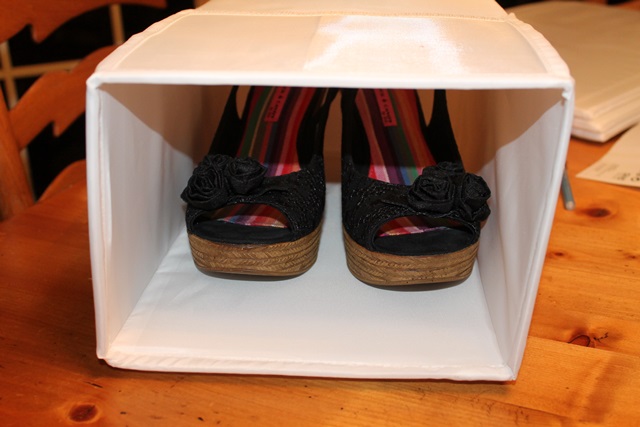
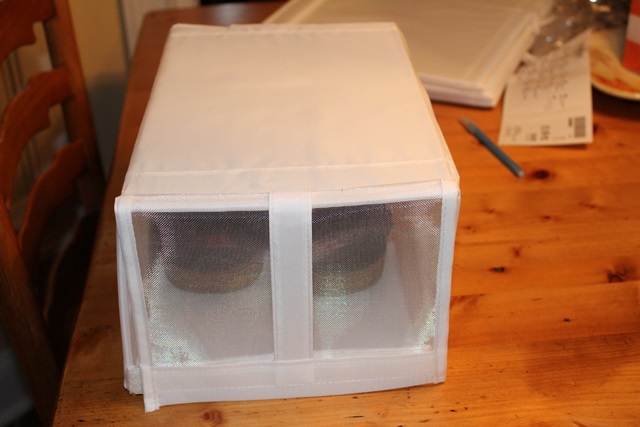
Here’s their new winter home…I can see into these so I’ll not lose my shoes.
I could put two pairs of shoes in these units, but I’m sticking to one.
See how they work? My shoes won’t get dusty and I can easily find them because I can peek inside.
As Christmas approaches and I think of decorating for the holidays, I’m going to use this also as an opportunity to continue to sort and get rid of things. When we no longer have our “dear girls” we’ll be having our floors redone, and we’ll have to move everything out of the first floor of our house. Every item that is not used that I get rid of is an item I won’t have to move. It also just feels good not to be ruled by clutter.
Hello Fall…I love you! Today I’m linking up to a party at Rhoda’s of Southern Hospitality...it’s all about fall — outside the house! Please go look at Rhoda’s site and see all of the fall pretties she and others have put together.
When you live in the country, it’s easy to get foddershocks. Yep..these used to be corn and now they are showing off in the front yard! We’ve eaten corn, the animals have eaten corn, and the foddershocks are the corn’s last hurrah! I put the bow on just before it got dark.
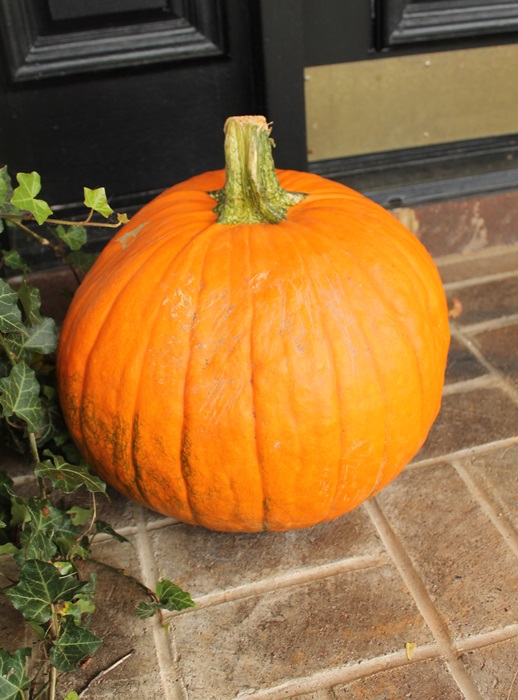
Since I live in a rural area called Mendota, Virginia, I use things that reflect our country life. Simple things…like plain field pumpkins. This pumpkin has a story. Three pumpkins per year is the payment we receive from Mr. Faust who cuts and uses our hay. Works for me!
The grape cart has been with me since my house was built in 1998. I ordered it from an ad in a magazine. I called the 1.800 number about 2 am one night when I could not sleep. I thought I’d get a recording or a call center. What I got was the sleepy wife of the man who made it. It’s just the right size for summer squash and gourds from our garden along with a couple of mums from Lowe’s.
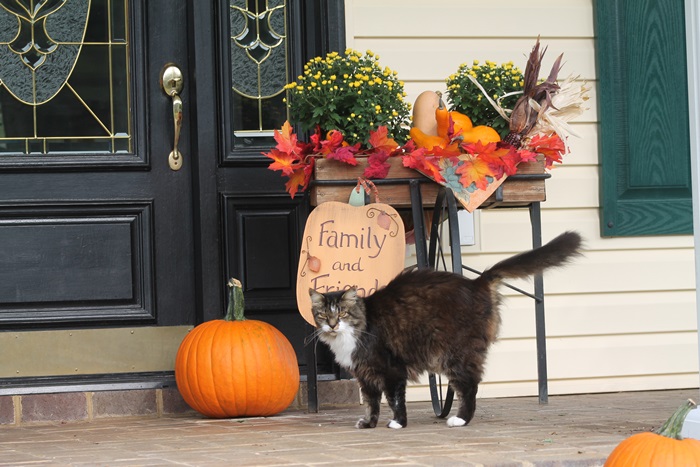
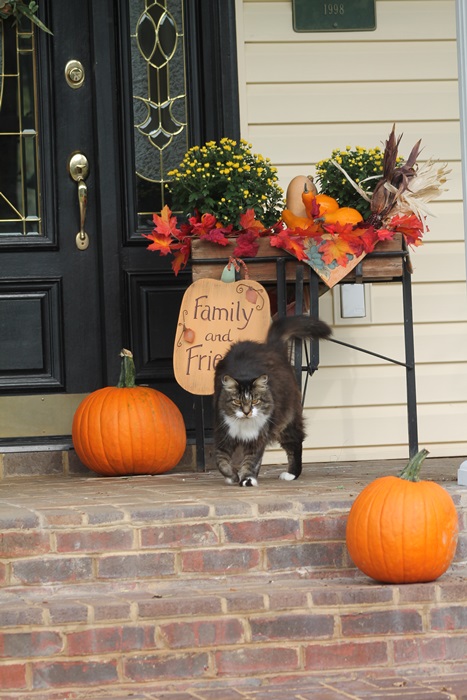
Here it is from a step back…a very traditional fall look. I wanted some white pumpkins, and I grew two, but they came in early and already have started to rot. Just my luck! That’s Sammy…my cat. If you live in the country, you seldom get to pick out a kitten. People from other places drive out here and throw them away…and sometimes, if the kitty is very, very lucky, it may find a home. Sammy did and he looks pretty in the picture. He is one mean cat!
This little wooden pumpkin is too primitive for inside the house, but it is sweet looking hanging off the grape cart. I believe after the picture was taken above, however, Sam the Cat peed on it. Not only is he mean, he has bad manners. Yuck Sam!
The mums in the grape cart will be transferred to the ground when they start looking bad. I’ll put compost over them and next year, with a little luck, they’ll be back. Here’s former years’ “mums in a pot” enjoying their annual return…they are much bigger and better!
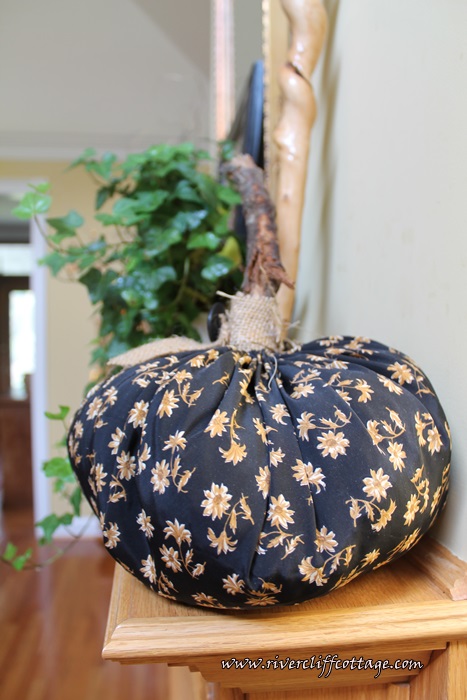
Here’s more pumpkins…including my homemade fabric pumpkins. I made the fabric pumpkins last year, and they are right back at work this year. They are stuffed with Walmart bags and pinto beans. I was so excited when I made them that I was jumping up and down. Gleeful! I thought I’d discovered something totally unique and felt brilliant. I then found that making fabric pumpkins is something everyone does! Oh well!
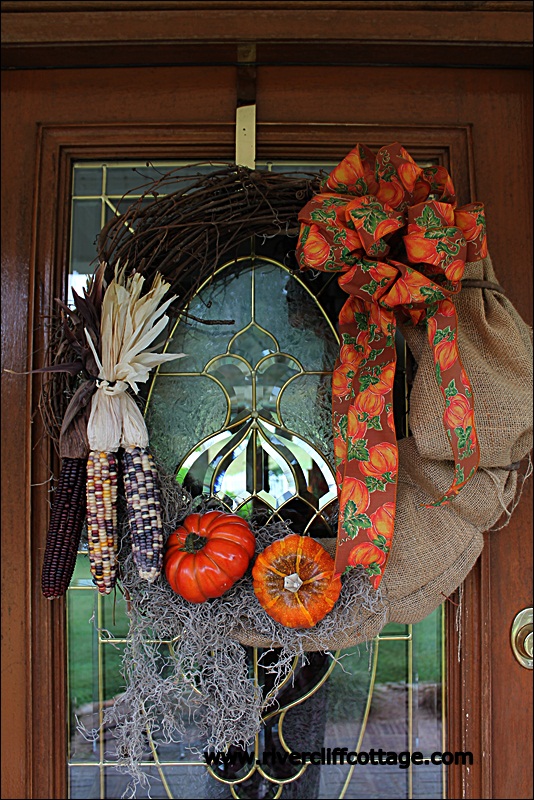
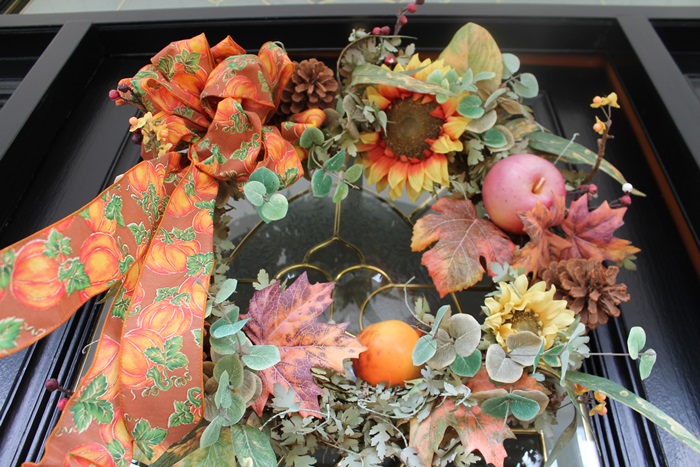
I don’t go over the top on the door but I do like a wreath, and this one works just fine. It’s not new, but it still has some life. Honestly, when you’ve reached a certain age (I’m 57), new and shiny is not always better. There is a comfort seeing an old friend again — even an old wreath friend!
Thank you for stopping by RiverCliff Cottage! Please come back! If you are visiting from the Linky Party, I would love it if you would leave a comment…you have to sort of “hunt it” like an Easter Egg. My comment section is going to be reworked…it seems like it disappears… but if you scroll just a little further down, you can find it.
We have a busy week ahead. Both my nephew and his fiance and our son and daughter-in-law are visiting. Different days but in the same week. Following that, I have a friend coming for a week. This is all good as I’ll be working hard to get things done. Motivation. This weekend for instance…my front porch went from this…
To this…my little grapecart is looking very fallish, and look who’s in this picture…
And what do you think he’s doing in this picture?
I wish he’d just have told me how he felt about my fall porch project instead of peeing on it. Thank goodness he didn’t hit the pumpkin I artfully hung from the cart. I’m not even sure he pees..he just sort of “twinkles” his tail like he’s peeing but most of the time, nothing happens. He’s pretend peeing.
And I decided not to use the wreath I made last year which has breasts…I call this my “Dolly wreath” after Dolly Parton.
Since Dolly is not coming out, I used an old wreath that I had ten years ago. It’s not what I would buy today, because it’s a little busy. Still…I like it fine for this door. It’s a little faded so I put a ribbon on it which, of course, makes it even more busy. If you’re going to be busy, you might as well go for really busy.
A few weeks ago, I started messing around with my mantle, and I put a vase up there with sticks. It was so sad. Here it is…
My cousin and forever friend Terri McCroskey came to the rescue. Very tactfully, she offered me some of her willow branches. I very gratefully accepted and went up to her house this week and picked them up. If you like this type of thing, you’re going to be jealous….here they are…I would almost call them “majestic” especially when comparing them to my sticks!!
I enjoy them every time I walk by…and I think of her sweetness in giving them to me.
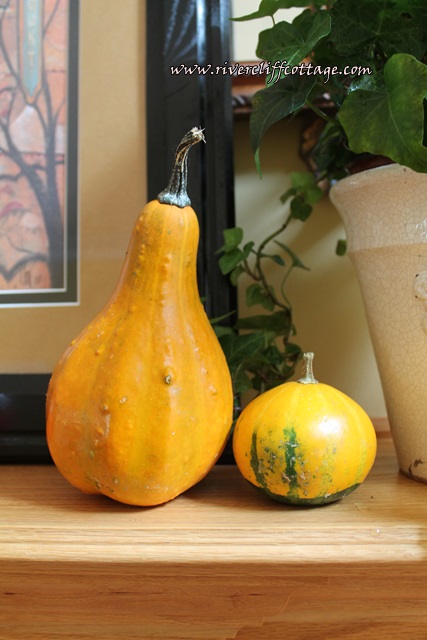
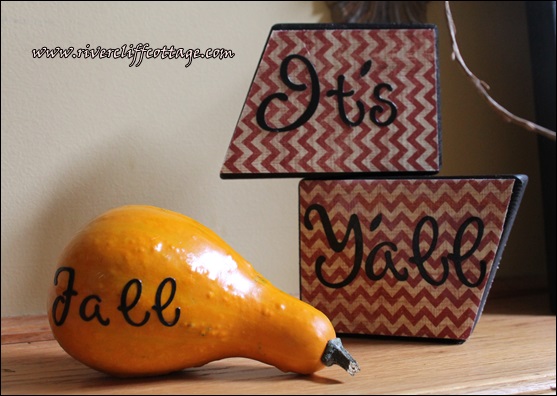
I went shopping around the house and added a few other things. Mostly gourds and some blocks I already had. I think they look pretty good. Gourds from the garden…I didn’t have too many this year, but I did have a few.
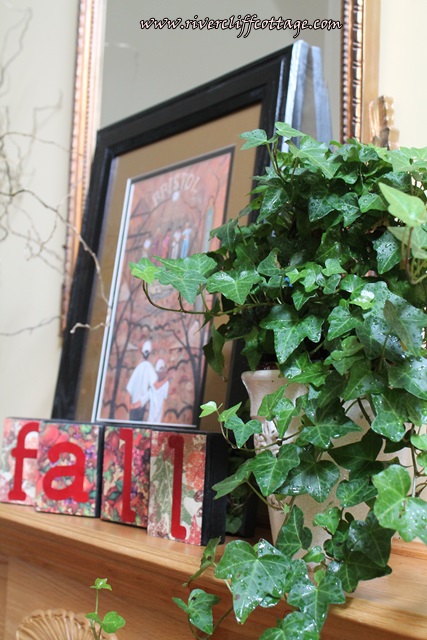
I have an ivy topiary in my RiverCliff Cottage header. It’s dried up, died down and come back. It doesn’t look like a topiary any more but I think it’s still pretty. It was outside most of the summer recovering. I love a live plant on the mantle.
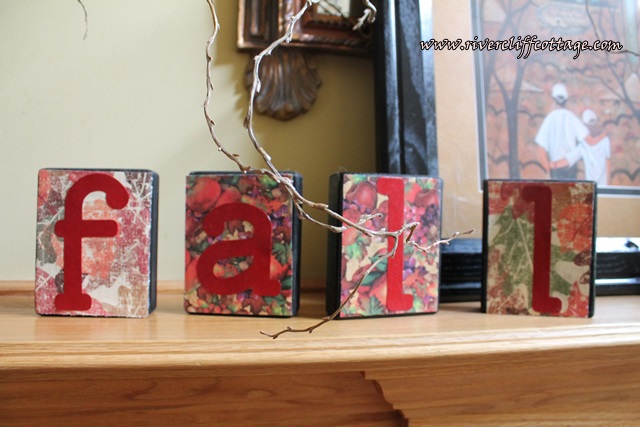
The blocks are kind of shabby….
Also on the mantle is one of last year’s pumpkins that cost me nothing. It’s full of Walmart bags and pinto beans!!
I also made a little vignette for the foyer with blocks and gourds. I made these upstairs in the loft when I swore to Mike I was cleaning. I really like them.
And here they are again…
Hope you have a wonderful fall weekend. I’m off to finish cleaning the house!!
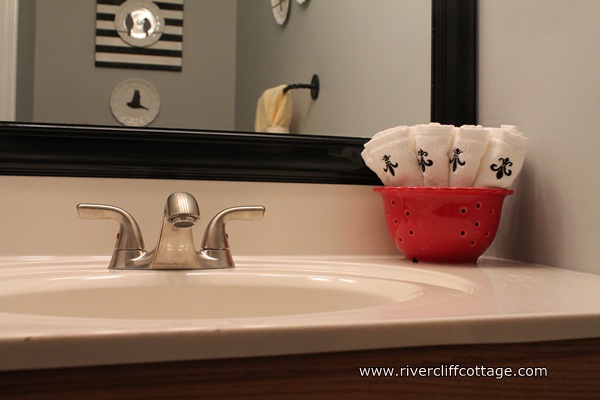
When we did our Little Bathroom Project (see here if you haven’t read this), I wanted an updated look to the builder grade mirror that was glued to the wall without going to the trouble of removing the existing mirror. We decided to “frame out” the mirror using molding. If you’ve been reading about this project, you may be tired of it; but if you’re going to try a project like this, you should read on. It could save you some trouble.
We searched on the internet and found several success stories, but we also found some failures. My favorite blogger, because she is entertaining, resourceful, talented and funny is Rhoda of Southern Hospitality. One of Rhoda’s most popular posts is on the subject of placing molding on a mirror. She was successful. Here it is if you haven’t seen it.
The most difficult part of this project was getting that molding to stay in place long enough to dry and adhere to the slick mirror. We tried several things including Liquid Nails for Glass and for Mirrors. Gravity was working against us, and I did not want to spend the entire night in the bathroom holding up molding! The picture below was our first try. We mitered the ends on this try. Look at the top…it was sagging…and this was after all the work when we thought it was done!!! I said the crap word, and I won’t tell you what Mike said, other than it started with an “S”.
It actually fell down right after this picture was made and the ends got banged up, so we changed gears and used four blocks and four pieces of molding. More cutting and more painting. However, it was easier than doing the miter thing again, and we felt the blocks might add stability. Here it is again…with the blocks. I called these “ladies breast blocks” for obvious reasons.
And now, here’s Mike’s solution to ensure that the molding that you’ve so carefully painted and cut will stay attached to the mirror! This can save you some heartache. He said no one should have to watch their pretty, mitered wood fall into the sink!
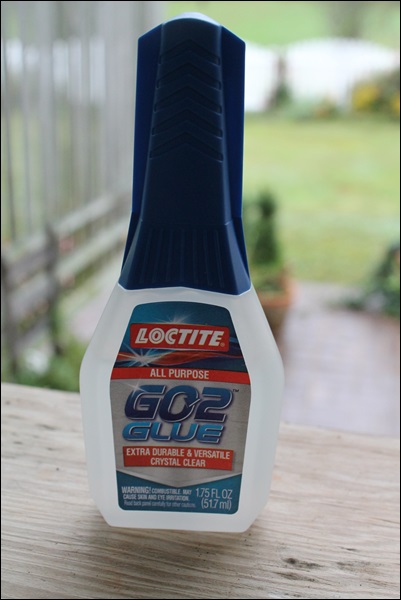
Mike came to the conclusion that there is not just ONE solution for effectively installing molding over a mirror. It is actually a two-fold solution — using TWO types of adhesive. One adhesive is for quick trying (hot glue) and the second for the strength to hold that mirror up for a long time. Both of these glues must dry clear because of the reflective quality of the mirror. Mike used about 80% Loctite GO2 Glue and about 20% glue from my cheap craft glue gun. This works!!
We were afraid to use only hot glue because it becomes brittle over a period of time. Have you ever used hot glue on something and it works fine for a few days and then things start falling off? With two types of adhesive, our molding was easy to place on the mirror (didn’t have to hold it up there forever) and should last. Here’s the pretty frame…
If you are not mitering your corners and use corner blocks like we did, put them on first. We also added a little tape until they were good and dry just as insurance. I did not want the block to come tumbling down and getting glue everywhere. These blocks offer support for those long, vertical and horizontal pieces that just want to fall down and make you cuss.
Last, and Rhoda mentions this…paint both sides of your molding when framing a mirror. We started this and only painted one side. When the molding was held into place on the mirror (simply holding by hand to see how it fit…not when we were gluing thank goodness!), the unpainted side actually reflected in the mirror.
Thank you for reading RiverCliff Cottage. If you read this and have questions, just email me!