Woo hoo! I am getting very close to having this project done! I’ve been working on it a few days and talking about it in a past post.
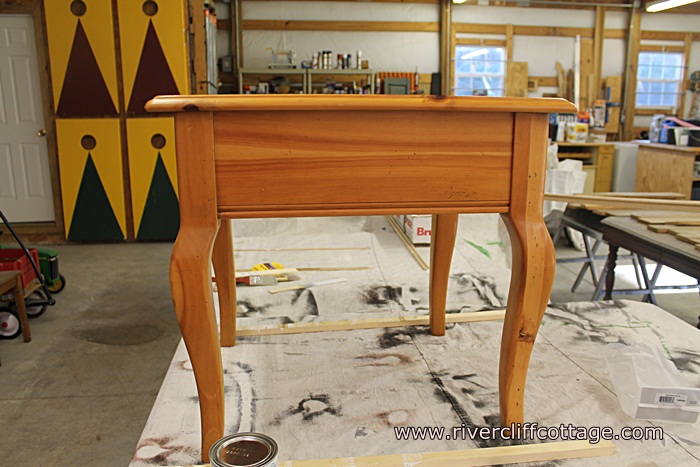
My end table began the week looking like this…
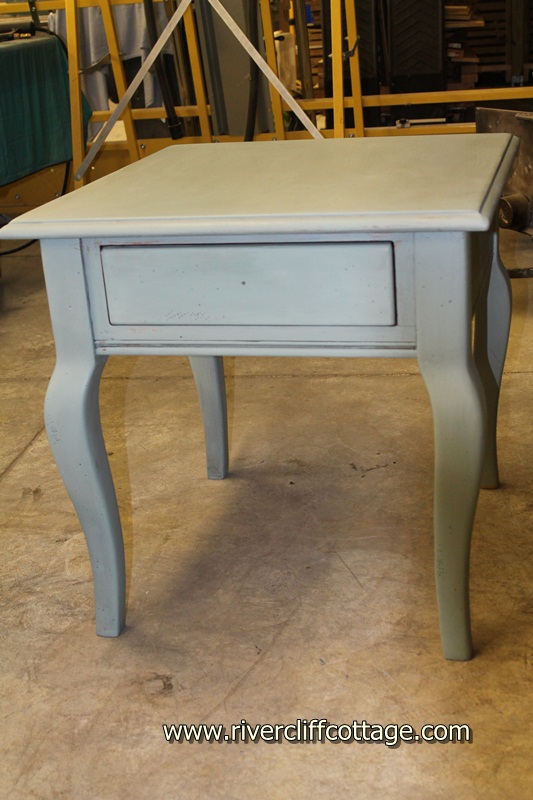
Tonight, getting close to the finish line, it looks like this.
It’s not done. I need to find an antique glass knob, and all of the antique stores I’ve visited tell me about the ones they USED to have!! Also, this needs a final coat of clear wax with another good buffing. Maybe a new lamp, too?
Tonight when I went down to the shop, the table was sitting there completely dry with two coats of Annie Sloan’s Chalk Paint in Duck Egg that I applied over the past few days. “Duck Egg” describes a green/blue/gray color. My friend, Sue, tells me it’s green, and I tell her it’s blue.
So following the two coats of chalk paint, this piece was ready for the waxing process. I’d read online tutorials on the waxing process following the chalk paint application, so I knew that the next step was to apply a clear wax. Annie Sloan makes a full line of products, but I had only the paint. I used a different brand of clear wax and it worked fine. With any project, there are a dozen ways to get to the end result. Sometimes just starting is the hardest part.
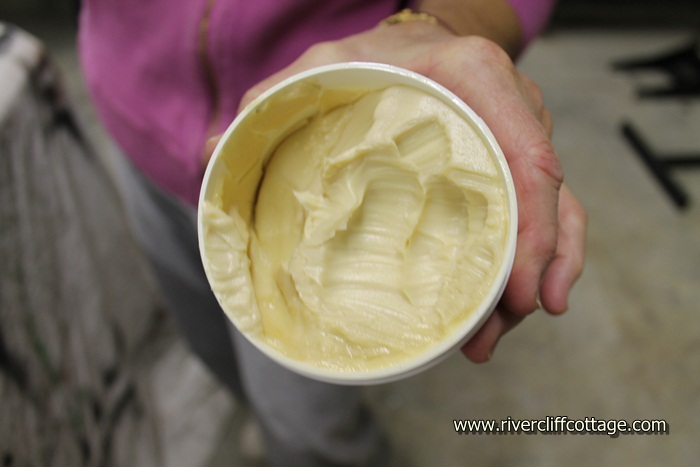
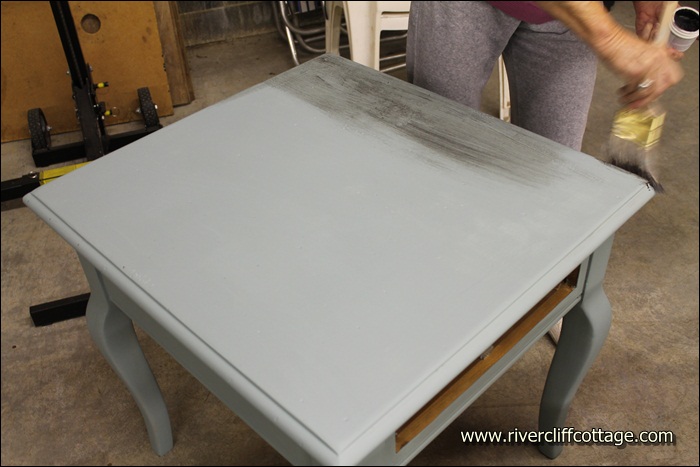
So, back to the waxing. The clear wax has the consistency of a heavy lotion so I brushed it on. I used a paint brush we had on hand.
Once this clear wax is applied, it needs to dry a set time. For the brand I used, which was Miss Mustard Seed’s clear wax product, the time was 3-5 minutes. I had this wax because it was included in a milk paint kit I won last week at the Southern Bloggers Conference. Use what you have.
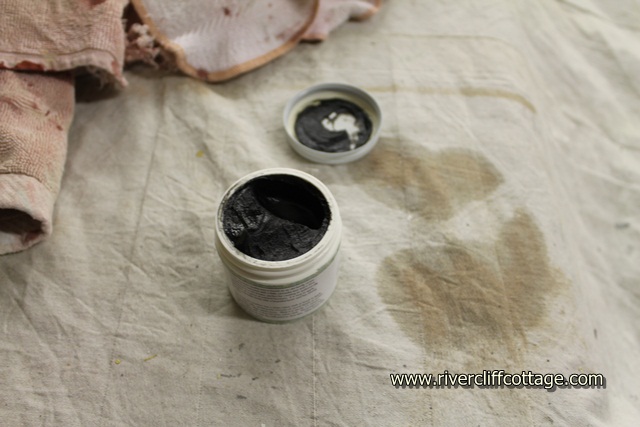
After 3-5 minutes, I wiped the wax with a soft lint-free cloth. It was actually a pair of Mike’s old underwear. The next step was to follow with the glaze. It was called wax but it has the consistency of glaze in a pot.
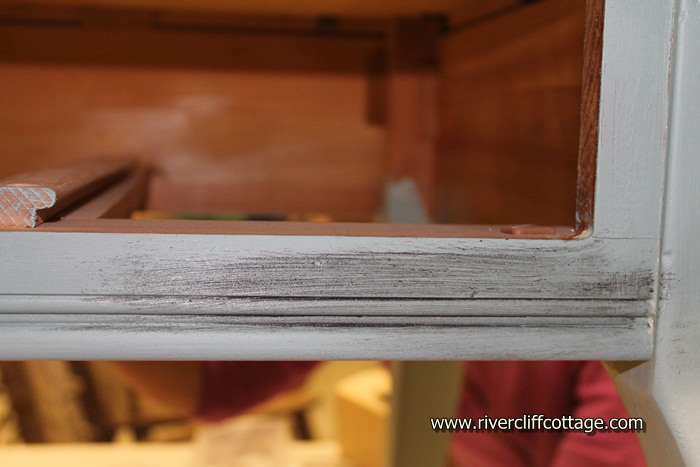
So…Sue and I brushed this all over the end table and let it dry for about 3-5 minutes and wiped it off.
And another view…
The “antiquing” step is the place where your preference weighs in on how you apply the wax. If you want a piece of furniture that looks like you found it in a coal bin, then lay it on thick! If you want something that looks slightly aged, take a lighter approach.
I’ll be showing you the big reveal for this piece when I find the knob. I’m going to cheat on the hunt and look on Ebay tonight. Is the internet great or what?
I’ve had fun doing this project. When we bought this end table, we lived in Acton, Massachusetts, and it was ” hurry, hurry…make a house a home.” I did not make the wisest purchases, but with this new look, I think I can enjoy this table for a long while!
<center>
![]()

I can’t WAIT for the reveal!!! I have some pieces I would love to re-do!
Looks like a great project! Can’t wait to see the finished project!
Thank you Diane! I can’t find the right knob but I’m going to put it in the bedroom with a post it note that says “KNOB” until I get the right one. I have not had a good end table by the bed in…well…EVER!!
I love doing stuff like this. I’ve “antiqued” several things around the house.
Pattie…do you remember the old antique kits from the 70’s? I wonder what I’ll think of this technique in the year 2022??? Will I even be alive in the year 2022? I hope so!!
Tel Mike he’d better check his “drawers” before changing them.
Yes…he might be a little “waxy” back there! Ha!